 ultimate-guide
Best Practices for Commercial Building Inspections
Table of Contents
- Why Best Practices Matter for Commercial Building Inspections
- Pre-Inspection Planning: Documents and Scope
- The Commercial Property Inspection Process, Step by Step
- Your Commercial Building Inspection Checklist
- Commercial Roof Inspection: What to Look For
- Writing the Commercial Building Inspection Report
- Environmental Hazards, Limitations, and Budgeting
- Conclusion
- Frequently Asked Questions
Last Updated: October 12, 2026
Why Best Practices Matter for Commercial Building Inspections
A commercial building inspection is a systematic, non-invasive visual assessment of a property's major systems and components, conducted to document condition, identify safety hazards, and inform maintenance or acquisition decisions.
The best practices for commercial building inspections come down to three things: plan before you arrive, inspect every major system in a consistent order, and write findings a non-engineer can act on.
Pre-Inspection Planning: Documents and Scope
The most common mistake we see is treating the site visit as the starting point. Before anyone sets foot on the property, the inspector should review plans and specifications, prior inspection reports, maintenance logs, and outstanding permit requirements.
A clear scope statement prevents disputes later. Most commercial property assessments follow ASTM E2018, the Standard Guide for Property Condition Assessments, which sets expectations for walk-through surveys, document review, and report content.
- Confirm access to mechanical rooms, roof hatches, and electrical closets
- Collect as-built drawings and equipment schedules
- Note tenant occupancy and any areas that cannot be entered
The Commercial Property Inspection Process, Step by Step
A commercial property inspection process follows a fixed sequence so nothing gets skipped. The inspector moves from the site and structure inward, documenting each system with notes and photographs.
On-Site Walkthrough and System Checks
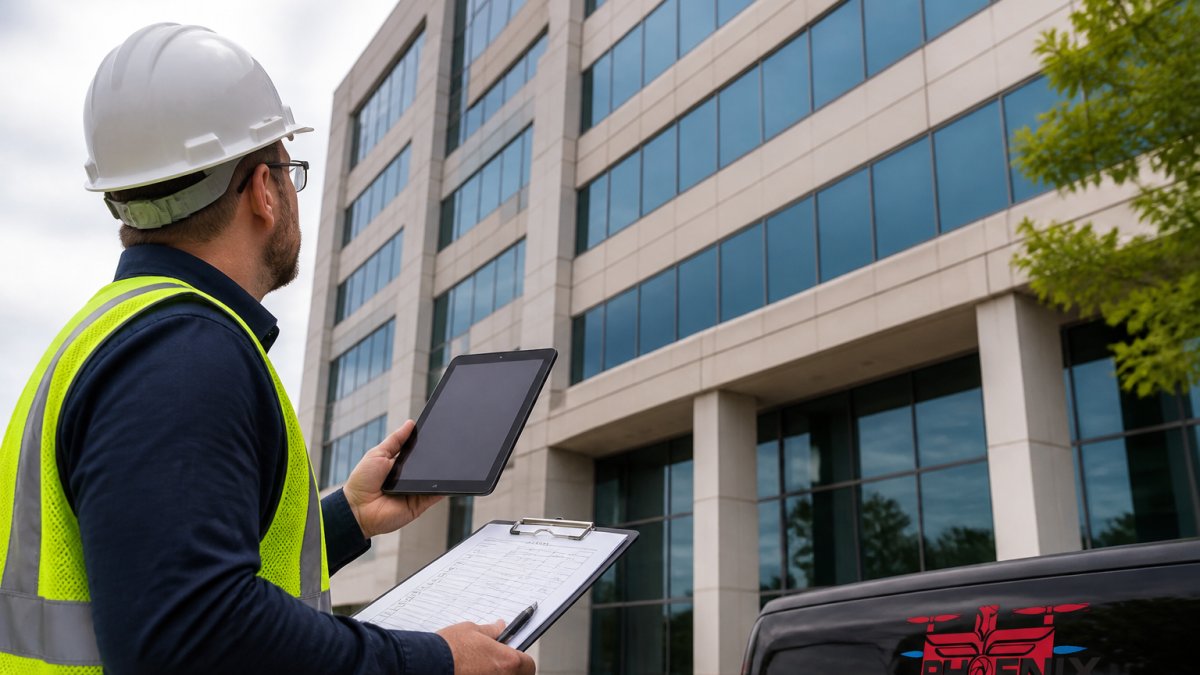
The walkthrough covers the building envelope, foundation, roof system, and interior systems in order. A site assessment starts with grading and drainage, since water intrusion at the foundation causes more deferred maintenance than almost any other issue, then evaluates exterior walls, windows and doors, and the roof.
Inside, the focus shifts to HVAC and ventilation, electrical systems, plumbing and drainage, and fire protection and life-safety systems. Each gets a visual inspection, with photographic documentation of defects and a note on whether the issue is immediate or long-term.
A few mechanics separate a disciplined walkthrough from a rushed one:
- Work top-down and outside-in. Roof and envelope first, then mechanical rooms, then occupied interiors. Water and air travel down and inward, so this order lets the inspector trace causes rather than log symptoms.
- Budget time by system, not by square footage. Mechanical, electrical, and roof areas consume the largest share of a walkthrough because access, panel removal, and roof traverses are slow. A single rooftop packaged unit inspects very differently from a central plant and cooling tower.
- Document as you go. Notes and photos captured in place beat a memory-based write-up. Most practitioners photograph every finding from at least two angles and note the location by floor, room, or grid line.
Risk-Based Prioritization and Severity Ratings
Not every finding carries the same weight, and a good report says so. Risk-based prioritization sorts findings into tiers: safety hazards and code violations first, then items likely to fail soon, then routine deferred maintenance.
A workable rating scheme scores each finding on two axes:
- Likelihood, how probable is failure or worsening within the next 12 months?
- Consequence, if it fails, what happens? Life-safety exposure, business interruption, property damage, or cosmetic only?
Cross those two axes and you get four practical buckets:
| Low consequence | High consequence | |
|---|---|---|
| High likelihood | Repair within the current budget cycle | Immediate action; treat as a priority item |
| Low likelihood | Monitor at next inspection | Plan and fund; add to the capital reserve |
Two findings can look identical on a checklist and land in different buckets. A cracked roof flashing and a failing fire alarm panel may both be "defects," but only one can shut down operations.
Severity ratings also make the report usable by people who were not on site. A lender, underwriter, or prospective buyer can read the summary and understand which items affect value and insurability versus ordinary maintenance, the difference between a report that gets filed and one that gets acted on.
Your Commercial Building Inspection Checklist
A commercial building inspection checklist keeps the walkthrough consistent from property to property. Use the structure below as a starting point, and adapt it to the building type.
- Site and drainage: grading, stormwater paths, retaining walls
- Foundation and structure: cracks, settlement, structural integrity
- Building envelope: exterior walls, sealants, windows and doors
- Roof system: membrane condition, flashing, roof drainage
| System | What to Check | Common Finding |
|---|---|---|
| Roof | Membrane, flashing, drainage | Ponding water, failed seams |
| HVAC | Equipment age, ventilation | Undersized units, dirty coils |
| Electrical | Panel capacity, grounding | Overloaded circuits |
| Plumbing | Supply, drainage, fixtures | Slow drains, leaks |
| Fire safety | Alarm, sprinklers, egress | Obstructed exits |
Commercial Roof Inspection: What to Look For
A commercial roof inspection is the highest-value part of most assessments, because roof replacement is one of the largest capital improvements a property will face. The inspector checks membrane condition, seam integrity, flashing at penetrations, and drainage.
Roofs are also where access problems bite. That's where aerial documentation helps: our OSHA guidance on fall protection in general industry makes clear how serious roof-access hazards are, and drone-based thermal imaging can reveal moisture trapped beneath a membrane without anyone stepping onto a fragile surface.
Writing the Commercial Building Inspection Report
A commercial building inspection report is only useful if a property owner, lender, or broker can read it and know what to do next. It should open with a summary of immediate concerns, then walk through each system with photographic documentation, a defect description, and a repair recommendation.
- Executive summary with prioritized findings
- System-by-system detail with photos
- Clear distinction between safety hazards and maintenance items
- Estimated corrective action categories, not guesses
Report quality varies widely across the industry, which is why the Certified Commercial Property Inspectors Association's resource library emphasizes standardized checklists and consistent reporting. For properties headed to market, a Video Offering Memorandum can carry that same aerial documentation into the sales process, giving buyers and lenders a clear visual record of roof and site conditions alongside the written report.
Environmental Hazards, Limitations, and Budgeting
Every inspection has limits, and a trustworthy report says so. A standard visual inspection does not test for asbestos, mold, or subsurface contamination; those require specialist referrals, such as a Phase I Environmental Site Assessment. Indoor environmental quality concerns, from ventilation shortfalls to moisture damage, deserve their own assessment.
What a Visual Inspection Can and Cannot Establish
A non-invasive walkthrough can document condition, identify visible defects, and flag conditions warranting further study. It cannot confirm what is hidden behind finishes, inside wall cavities, or beneath a slab, nor quantify structural capacity, test electrical load, or verify fire-protection performance without destructive or instrumented testing.
Common environmental and health concerns sit squarely in that gap:
- Asbestos and lead. Buildings constructed or renovated before the 1980s may contain asbestos-containing materials in insulation, floor tile, ceiling texture, and pipe wrap, and lead-based paint in older coatings. A visual inspection can note suspected materials and their condition, but confirmation requires sampling by a qualified professional.
- Mold and moisture intrusion. Mold signals a moisture source, not just a cleanup problem. The inspection should trace the water path, roof, plumbing, envelope, or grade, and recommend correction before remediation.
- Radon. Radon is a soil gas that can accumulate in lower levels and is not detectable by sight or smell. Testing is the only way to know whether mitigation is warranted.
- Indoor air quality. Ventilation shortfalls, blocked intakes, and contaminated ductwork affect occupant health and productivity, often showing up as comfort complaints rather than visible defects.
When the visual inspection flags any of these, the right move is a referral, not a guess. Structural concerns go to a licensed structural engineer; environmental concerns to an environmental professional; fire-protection questions to a fire-protection specialist.
Turning Findings into a Lifecycle Cost Plan
Budgeting is the other piece most reports underplay. Findings should feed directly into a lifecycle cost plan: which repairs are urgent, which can wait a year, and which belong in a five-year capital plan.
A practical way to build that plan is to sort every finding into four time horizons:
- Immediate (0-3 months). Life-safety items, active water intrusion, and anything that threatens occupancy or insurability. Fund from operating budget or an emergency reserve.
- Near-term (3-12 months). Systems showing accelerated deterioration or repeated repairs. These are the items most likely to become emergencies if deferred.
- Planned (1-5 years). Roof replacement, HVAC equipment end-of-life, and other large capital items. These belong in the reserve study and should be funded on a schedule, not on a crisis.
- Monitor. Items that are stable but worth watching. Re-check at the next inspection rather than budgeting now.
This structure converts a list of defects into a funding timeline. A roof with five years of useful life left is not an emergency today, but it needs to be reserved for starting now.
Findings also inform total cost of ownership in less obvious ways.
Conclusion
The gap between a routine walkthrough and a genuinely useful inspection comes down to preparation, prioritization, and documentation. Get the scope and documents right before the visit, rate findings by risk, and produce a report that drives action.
For the hardest part of that job, the roof and other difficult-to-reach areas, Phoenix Drone Pros brings FAA-certified pilots, full insurance, and more than a decade of commercial drone experience to every project.
Frequently Asked Questions
What should be included in a commercial building inspection?
A commercial building inspection typically covers the building envelope, foundation, roof system, HVAC, electrical, plumbing, fire protection and life-safety systems, and interior components. The inspection scope is often defined by ASTM E2018 for a Property Condition Assessment, which includes visual inspection, document review, and a report with repair recommendations. It should also address accessibility and code compliance where applicable.
How do you prepare for a commercial property inspection?
Preparation starts with gathering documents: site plans, maintenance records, prior inspection reports, and permits. Confirm access to all areas, including roofs and mechanical rooms. Coordinate with tenants to minimize disruption and ensure safety. A pre-inspection meeting with the inspector can clarify scope, limitations, and deliverables. This planning phase helps avoid delays and ensures the inspection covers all critical systems.
How often should a commercial building be inspected?
Most commercial properties benefit from an annual inspection to catch deferred maintenance and safety issues early. However, the frequency depends on building age, use, and local codes. High-traffic or industrial facilities may need semi-annual checks. After a major weather event or before a property transaction, a dedicated inspection is also recommended. Regular inspections support preventive maintenance and capital planning.
What is the difference between a commercial building inspection and a home inspection?
Commercial building inspections are more complex, covering larger systems, code compliance, and environmental considerations. They often follow ASTM E2018 standards and include a Property Condition Assessment. Home inspections are typically residential-focused and less formal. Commercial inspections also involve coordination with multiple tenants and may require specialist referrals for HVAC, electrical, or structural evaluations.
How long does a commercial building inspection take?
Duration varies with building size, complexity, and scope. A small retail building might take a few hours, while a large office complex can take several days. Factors include the number of systems, access to roofs and mechanical spaces, and whether environmental assessments are included. The inspection report is usually delivered within a week after the site visit.
What should a commercial inspection report include?
A commercial building inspection report should include the inspection scope, methodology, and limitations. It must document findings with photographic evidence, severity ratings, and repair recommendations. Immediate concerns and deferred maintenance items should be clearly separated. The report often includes cost estimates for corrective actions and a summary of life-safety issues. It serves as a baseline for budgeting and future planning.
Can drones be used for commercial roof inspections?
Yes, drones are increasingly used for commercial roof inspections, especially for steep or fragile roofs. They provide high-resolution imagery and thermal data without putting inspectors at risk. FAA-certified operators like Phoenix Drone Pros can capture detailed views of roof systems, drainage, and potential water intrusion. Drone inspections complement traditional walk-throughs and can be faster and safer.