 Ultimate guide
Best Practices for High Quality Aerial Videography
Last Updated: November 17, 2026
Quick Summary
High-quality aerial videography starts with planning before takeoff: define the footage's goal, scout the site, and set camera settings deliberately. Lock shutter speed to double the frame rate, control exposure with ISO and ND filters, and fly one slow, controlled movement per shot.
- Decide the footage goal first, since it dictates altitude, route, lighting window, and camera settings.
- Set shutter speed to double the frame rate, for example 1/60 second at 30 fps.
- Use ND filters and low ISO to control exposure instead of letting the camera go to auto.
- Fly with reduced expo and gradual stick inputs, pausing for a second at the start and end of each move.
- Set clear wind, gust, precipitation, and visibility limits in advance and stick to them.
Table of Contents
- Why Aerial Video Quality Starts Before Takeoff
- Drone Flight Planning for Video Shoots
- Aerial Video Camera Settings by Frame Rate and Motion
- Drone Videography Tips for Smooth, Controlled Movement
- Building Cinematic Drone Shots
- Weather, Wind, and Go/No-Go Decisions
- Booking Aerial Video Services in Phoenix and San Antonio
- Frequently Asked Questions
Why Aerial Video Quality Starts Before Takeoff
Most aerial video that looks amateur was never really a flying problem. It was a planning problem. Pilots who skip the scouting stage end up with shaky footage, blown highlights, and a clip that doesn't match the story the client needed.
Start by defining what the footage has to do. A listing video needs slow, steady reveals of the property and its surroundings. A construction progress video needs repeatable angles captured at the same time each week. A cinematic event piece needs dynamic movement and clean transitions.
Once the goal is clear, the rest of the workflow, from airspace checks to camera configuration, follows from it.
Drone Flight Planning for Video Shoots
Good flight planning turns a vague idea into a sequence of shots you can actually execute. Sketch the property or site from above, mark the subject, and draw the intended path for each shot.
Check the regulatory picture before the day of the shoot. Commercial operations in the United States generally fall under FAA Part 107 rules. Permissions can take time, so build them into the schedule rather than discovering them on arrival.
Plan redundancy as well. Batteries, spare propellers, and a second memory card keep a shoot on track when something fails. A simple run sheet listing each shot, its altitude, its duration, and its go/no-go conditions makes the day far more predictable.
Aerial Video Camera Settings by Frame Rate and Motion
Camera settings for video differ from settings for stills, and the right combination depends on how the drone will move. Fast pans and orbits demand different exposure choices than a slow vertical rise over a rooftop. Set your exposure triangle deliberately rather than leaving the camera on automatic, and treat frame rate, shutter, ISO, and profile as one linked decision rather than four separate ones.
Shutter Speed, Shutter Angle, and the 180-Degree Rule
For video, shutter speed is tied to frame rate. The industry convention is a 180-degree shutter angle, which means the shutter is open for half of each frame's duration. In practice that is shutter speed equal to double the frame rate: 1/48 or 1/50 second at 24 fps, 1/60 second at 30 fps, 1/120 second at 60 fps, and 1/240 second at 120 fps.
Most drone cameras do not offer a true 180-degree shutter-angle setting, so you approximate it with manual shutter speed. Lock the shutter to the double-frame-rate value, then control exposure with ISO and neutral density filters.
ISO, Aperture, and Noise Trade-offs
Keep ISO as low as the light allows, since higher ISO adds noise that compression amplifies. Many drone cameras have a base ISO around 100 and a second native ISO higher up; staying at the lower base value gives the cleanest shadows. Aperture on most drone cameras is fixed, so exposure control comes mainly from shutter and ISO, with ND filters used when midday sun pushes the scene overexposed. On drones with a variable aperture, stopping down one or two stops can sharpen the frame, but diffraction softens the image past roughly f/5.6 to f/8 on small sensors, so do not chase depth of field the way you would on a full-frame camera.
Choosing Frame Rate and Resolution
Shoot at the frame rate your delivery requires. 24 fps gives a cinematic feel, 30 fps suits general and social content, and 60 fps is useful when you need smooth slow motion in post. Record in the highest resolution your storage and editing workflow can handle, typically 4K, so you have room to reframe and stabilize in editing.
Match frame rate to motion. Slow, deliberate real estate reveals read well at 24 or 30 fps. Fast action, such as a vehicle tracking shot or a sport sequence, benefits from 60 fps so you can slow it to 30 fps in post and keep smooth motion.
Picture Profiles, Color, and Codecs
Choose a picture profile based on how much grading you will do. Standard or normal profiles are ready to deliver and suit quick-turnaround social content. Flat or log-style profiles preserve highlight and shadow detail for color grading but require conversion and more storage, and they look washed out straight out of the camera. If you shoot log, expose to protect highlights and plan a conversion step in your editor. Record in the highest-bitrate codec the camera offers for grading headroom, and keep a backup of the original files before transcoding.
The table below summarises the shutter speeds the article recommends for common frame rates under the 180-degree rule.
| Frame rate | Shutter speed | Note |
|---|---|---|
| 24 fps | 1/48 or 1/50 s | Cinematic feel |
| 30 fps | 1/60 s | General and social content |
| 60 fps | 1/120 s | Smooth slow motion in post |
| 120 fps | 1/240 s | Confirm camera spec first |
Drone Videography Tips for Smooth, Controlled Movement
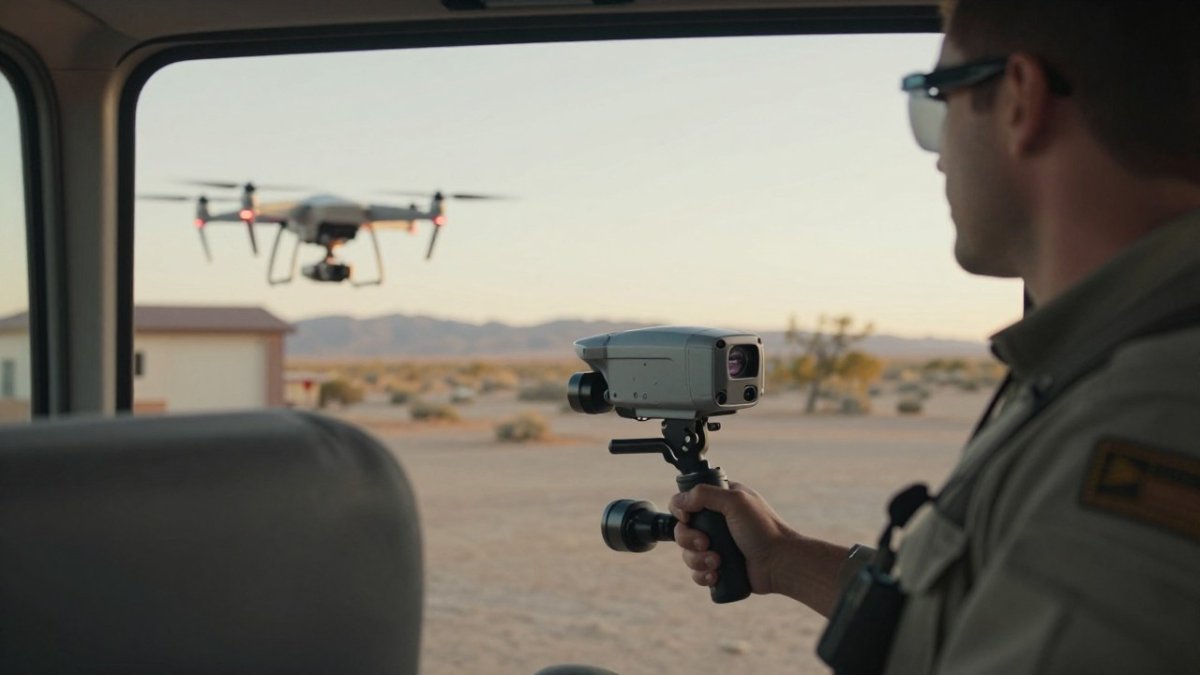
Smooth footage comes from smooth piloting. Use gradual stick inputs, and avoid combining multiple movements, such as climbing while rotating, unless the shot calls for it. A single controlled movement per shot is easier to edit and usually looks more professional. The mechanics matter more than the advice: most jerky footage comes from abrupt stick reversals and from flying faster than the gimbal can compensate.
Gimbal Modes and Stabilization Settings
Confirm that the gimbal is calibrated and stabilization is on before every flight. Know the gimbal modes your aircraft offers: follow mode keeps the horizon level while the drone yaws, FPV mode lets the camera roll with the aircraft for a more dynamic look, and free or locked mode holds the camera angle regardless of aircraft movement. For real estate and inspection work, follow mode with a level horizon is the safe default. Set gimbal tilt speed to a slow value so a tilt input ramps in and out rather than snapping.
Stick Inputs, Expo, and Speed
Lower the expo and sensitivity settings in the controller app so small stick movements produce small corrections. Many pilots fly with yaw expo around 0.2 to 0.3 and reduced maximum yaw rate, which makes slow orbits and reveals far easier to hold steady.
Start and end every move with a short pause. A second of stillness at the head and tail of a clip gives your editor handles for transitions and hides the moment the sticks change direction. Ease into and out of each movement rather than stopping abruptly.
Shot-Specific Movement Patterns
Match the move to the subject. A slow push-in toward a property entrance, a lateral truck along a facade, a rising reveal over a roofline, and a controlled orbit around a structure each have a natural speed and altitude. Orbits are the hardest to keep smooth: pick a fixed point, hold a constant radius, and let yaw and lateral input work together rather than correcting one at a time.
Practical rule: if a shot looks jerky on the controller monitor, it will look worse on a large screen. Reshoot slowly rather than fixing it in post.
Post-Capture Stabilization and When to Use It
Modern drones record stabilization data, and editors can apply additional stabilization in post. Use it sparingly: heavy stabilization crops the frame and can introduce warping at the edges, especially on wide shots with straight architectural lines. If a clip needs more than mild stabilization, reshoot it. Keep the original unstabilized file so you can compare before committing to a crop.
Building Cinematic Drone Shots
Cinematic drone shots rely on composition as much as movement. Use foreground elements such as trees, fences, or architectural details to create depth. Look for leading lines like roads, rivers, and building edges that draw the eye toward the subject, and use symmetry where the site allows it.
Vary the sequence. Pair a wide establishing shot with a closer detail and a slow reveal. Consider the light: the first hour after sunrise and the last hour before sunset usually offer warmer, more directional light than midday, which tends to flatten surfaces and wash out contrast.
Weather, Wind, and Go/No-Go Decisions
Weather is the single biggest variable in aerial video, and the decision to fly or wait should be made in advance. Our guide to choosing aerial photography services that deliver covers how to evaluate providers on exactly these kinds of operational decisions. Set clear limits for wind speed, gusts, precipitation, and visibility, and stick to them even when the client is waiting. Many operators fly in winds that are fine for a small drone but make smooth footage impossible.
Desert conditions add their own challenges. Heat reduces battery performance, dust can reach sensors, and afternoon thermals create turbulence over rooftops. Build flexibility into the schedule so you can move a shot to a cooler, calmer window.
Booking Aerial Video Services in Phoenix and San Antonio
If you would rather hand off the planning, execution, and editing, Phoenix Drone Pros provides aerial photography, videography, and inspection services. Learn how the company expanded its coverage into San Antonio, Texas and what that means for clients there. Compare the options first: Aerial Real Estate Video Vs Walkthrough Video Which Fits explains when aerial footage adds the most value to a listing.
Phoenix-area clients can review our local offering on the Drone Photography Services In Northwest Phoenix page. Clients in San Antonio can see our Drone Services In San Antonio Texas page for the services available there. Pricing depends on the shoot's scope, dates, and deliverables, so contact us directly for a quote.
Frequently Asked Questions
How do I get high-resolution aerial images?
Shoot at the highest resolution and frame rate your camera supports, typically 4K, and fly at a steady altitude in good light so the sensor captures fine detail. Use the lowest ISO that gives a usable exposure to limit noise, and avoid digital zoom, which crops pixels rather than adding detail. Fly slowly and keep the gimbal stable, since motion blur reduces sharpness more than most pilots expect. Review a few test frames on a large screen before committing to a full shoot.
Which aerial video camera settings work best for real estate footage?
A common starting point is 4K at 24 or 30 frames per second, a shutter speed about double the frame rate (1/50 or 1/60), and the lowest ISO that keeps the exposure correct. Set white balance manually so colors stay consistent across clips. Shoot in a flat profile if you plan to color grade later. Adjust exposure with ND filters rather than shutter speed when the sun is bright, so motion still looks natural.
How can I make drone footage look smooth and cinematic?
Keep every movement slow and deliberate, and avoid abrupt starts or stops. Use gentle, constant-speed orbits and slow reveals that move from a wide establishing shot to a closer detail. Hold each shot for several seconds longer than feels necessary so the edit has usable footage. Smooth, controlled flight matters more than any single camera setting for a cinematic result.
What weather conditions are best for aerial videography?
Calm air with wind under about 10 mph is ideal for stable footage, and early morning or late afternoon usually gives the softest light and longest shadows. Avoid flying in strong gusts, rain, or heavy haze, which degrade both image quality and flight safety. In Phoenix, midday heat and high density altitude can reduce battery performance and lift, so plan shoots for cooler hours. Make a go/no-go call before arriving on site and reschedule if conditions are marginal.
How should I plan a drone flight for a video shoot?
Start by confirming airspace rules and any required authorizations, then scout the site for obstacles, power lines, and people. Write a shot list that specifies each move, altitude, and subject, and rehearse the flight path without recording to catch problems early. Check battery levels, storage capacity, and weather before launch. Build in buffer time so you can repeat a shot if the light changes or the first take has a flaw.