 How-to
How to Integrate Drone Data into Construction Workflows
Quick Summary
Integrate drone data by first deciding which site decisions it must support, then planning flights, processing imagery into orthomosaics, point clouds and 3D models, and validating georeferencing before delivery. Export each output in a format your BIM, CAD or project software can open, keep coordinate systems consistent, and run one end-to-end test before scaling to weekly flights.
- Pick two or three decisions the drone data must support before designing any flight.
- Place ground control points across the site, including edges and corners, and survey them.
- Validate georeferencing by comparing non-GCP surveyed points and checking error against tolerance.
- Confirm the CRS, units and vertical datum match design files before exporting drone outputs.
- Run one end-to-end test on a single deliverable before scaling to weekly monitoring.
Table of Contents
- What Drone Data Is Useful for on a Construction Site
- Assessing Your Current Construction Workflow and Integration Needs
- Planning Drone Capture Missions and Ground Control Points
- Processing Drone Imagery into Orthomosaics, Point Clouds, and 3D Models
- Georeferencing and Validating Coordinates Against Design Drawings
- Connecting Drone Data to BIM, CAD, and Project Management Software
- Setting Up Weekly Drone Construction Progress Monitoring
- Frequently Asked Questions
How to Integrate Drone Data into Construction Workflows
Last Updated: November 5, 2026
What Drone Data Is Useful for on a Construction Site
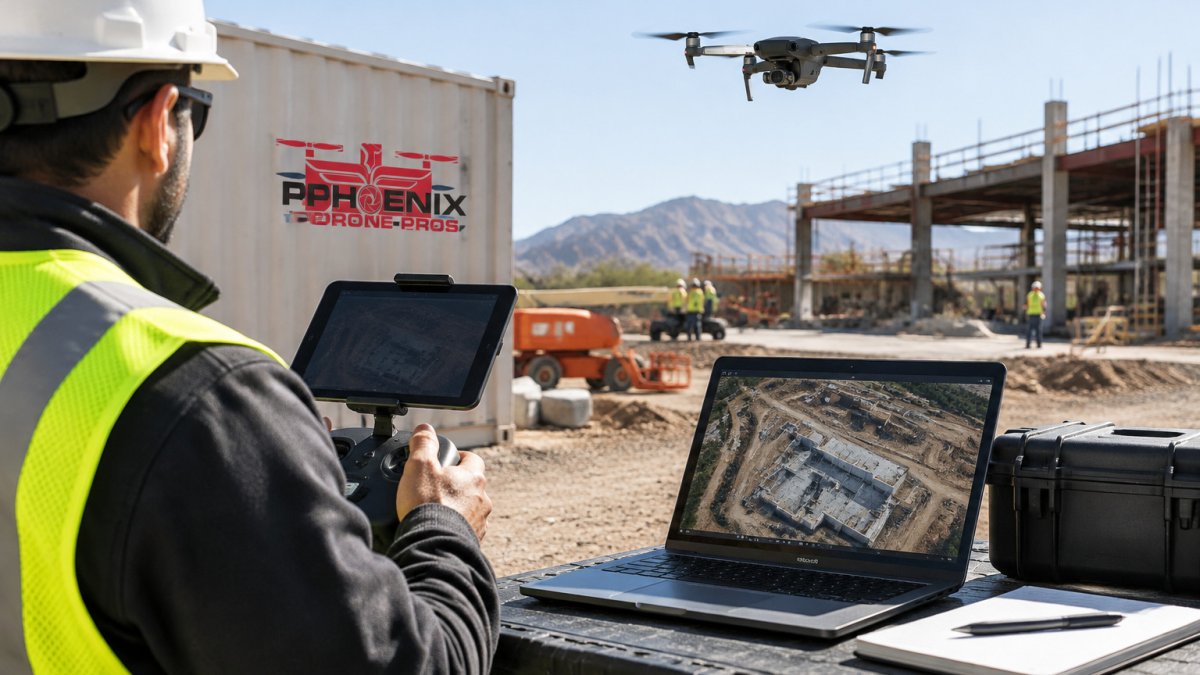
Drone data gives project teams a fast, repeatable view of a jobsite. Start by asking what decision the data will support; get that answer first and the rest of the workflow gets easier.
Drone data is useful for several common tasks. Teams typically use it to:
- Track progress against the schedule, one flight at a time
- Measure earthwork and stockpile volumes
- Check as-built conditions against design drawings
A common mistake is collecting data without a clear use. Teams end up with thousands of photos nobody opens. Pick two or three decisions the data must support and design every flight around them.
Assessing Your Current Construction Workflow and Integration Needs
Before you fly a single mission, map how your team already works. Who needs the data? Where does it go next? Which software holds the schedule, the drawings and the cost records?
Start with a simple audit:
- List every person who receives site information today
- Note the software each team uses, such as CAD, BIM or project management tools
- Identify where manual steps slow things down
This audit tells you what the drone workflow must produce. To see how a drone can make a jobsite more efficient, read how a drone can make your construction site more efficient.
Planning Drone Capture Missions and Ground Control Points
Good data starts with good planning. Set your flight altitude, overlap and route before launch. Most mapping flights use high front and side overlap so the software can match images accurately.
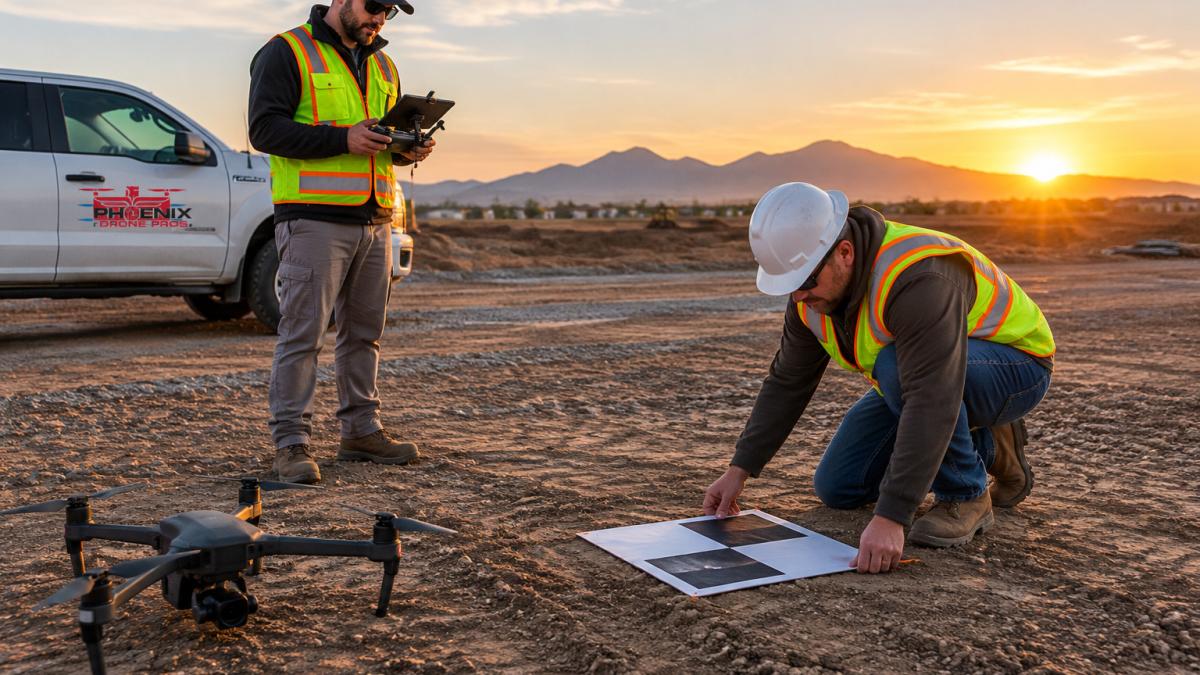
Ground control points (GCPs) are marked targets placed at surveyed locations to tie imagery to real-world coordinates. For the full service behind this kind of work, see construction drone mapping for site control.
Plan the mission with a checklist:
- Confirm the site boundary and any no-fly restrictions
- Set altitude, overlap and camera settings
- Place GCPs in open, visible spots
Keep flight dates consistent. A regular weekly schedule makes progress comparisons far more reliable than random flights.
Processing Drone Imagery into Orthomosaics, Point Clouds, and 3D Models
Raw images are not the deliverable. Processing software turns them into outputs your team can measure and review. The three most common products are:
- Orthomosaics: A single, scaled aerial map of the site
- Point clouds: Dense sets of 3D points that show height and shape
- 3D models: Textured surfaces that show the site from any angle
Each output serves a different job: orthomosaics for layout checks and progress photos, point clouds for volume calculations, and 3D models for reviewing complex areas.
Processing takes time, so schedule it in advance. Check quality after each run for gaps, blurry areas and misaligned sections before sharing.
Georeferencing and Validating Coordinates Against Design Drawings
Georeferencing aligns your drone outputs with the project's coordinate system. Without it, a correct-looking map can still sit in the wrong place.
Validation is the step many teams skip. Compare known points in the model against surveyed control points and measure the differences.
A practical check works like this:
- Pick several surveyed points you did not use as GCPs
- Measure their position in the model
- Record the horizontal and vertical error
Set different tolerances for different tasks, earthwork volumes may need less precision than layout verification. Define those limits in writing so everyone works from the same standard.
Connecting Drone Data to BIM, CAD, and Project Management Software
This is where the workflow pays off, and where most integrations fail. Drone outputs deliver value only when they land in the tools your team already uses, in a format those tools can open, at the correct scale and coordinate system, with metadata intact. Treat integration as a data-engineering step, not a file-drop.
Map outputs to downstream uses and formats
Start with a format matrix. For each deliverable, decide which platform consumes it and which file type that platform accepts without conversion.
- Orthomosaic: GeoTIFF is the standard for GIS and CAD overlay work because it carries georeferencing in the file header. Use JPEG or PNG only for presentation decks where scale does not matter.
- Point cloud: LAS or LAZ for GIS and earthwork software; E57 or POD for BIM and reality-capture review tools. Confirm whether your platform reads classified points (ground vs. vegetation) or needs a classified deliverable.
- 3D mesh: OBJ or FBX for design review and visualization; IFC when the model must enter a BIM coordination environment with property data attached.
A common pattern is to export one "master" file per output in an open format and one "viewer" file in a lightweight format for stakeholders who only need to look. For guidance on sharing these outputs with owners, lenders and other stakeholders, see the guide to aerial construction reporting for stakeholders.
Align coordinate systems before you export
Georeferencing is an integration requirement, not a processing afterthought. Confirm the project's coordinate reference system (CRS) and vertical datum in writing before the first flight. In the United States, many civil and site projects use a State Plane coordinate system in US survey feet, while design files may use a different datum or unit. Keeping roof imagery aligned to the same coordinate system and vertical datum makes drone roof inspections easier to compare with design files and other project records.
Before exporting, verify:
- The CRS and units match the design and survey files exactly
- The vertical datum matches (for example, NAVD88 versus ellipsoid heights)
- The model scale is 1:1 and not resampled for display
Avoid version, scale, and metadata problems
Interoperability failures usually come from three sources: version drift, scale drift, and lost metadata.
- Version drift: Name every export with the flight date, CRS, and a revision letter (for example,
ortho_2026-11-03_SPFT_revA.tif). Store the processing report alongside it so anyone can trace which images and GCPs produced the file. - Scale drift: Do not rescale or crop a georeferenced file before it reaches the design team. If a stakeholder needs a cropped view, export a separate derivative and label it as non-survey.
- Metadata loss: Some platforms strip georeferencing or coordinate tags on import. Test one file end-to-end through the target platform before committing to a format, and keep the original export as the authoritative copy.
Build a handoff process with named roles
A simple handoff process prevents the "beautiful map nobody can use" outcome:
- Who exports the data (pilot or processing lead) and who receives it (survey, BIM, or project controls)
- When each deliverable is due after a flight, measured in hours, not days
- Where files are stored, with a folder structure that mirrors the format matrix
Set folder-level permissions: editing rights for the processing lead and survey reviewer, view-only for everyone else. Keep an access log so you can answer who viewed or changed a deliverable if a dispute arises.
Test the integration on one deliverable first
Before scaling to weekly flights, run a single end-to-end test: capture one mission, process it, export each format, import into the actual downstream platform, and have the receiving team confirm the file opens at the correct location and scale. Fix format or CRS issues at this stage, when the cost is one file, not a season of data.
The article maps each drone output to the file format its downstream tools can open without conversion.
| Output | Format to use | Downstream platform |
|---|---|---|
| Orthomosaic | GeoTIFF | GIS and CAD overlay |
| Orthomosaic (presentation only) | JPEG or PNG | Presentation decks |
| Point cloud | LAS or LAZ | GIS and earthwork software |
| Point cloud | E57 or POD | BIM and reality-capture review |
| 3D mesh | OBJ or FBX | Design review and visualization |
| 3D mesh with property data | IFC | BIM coordination |
| Contours and surfaces | LandXML or TIN | Civil design and earthwork tools |
| Progress imagery | GeoTagged JPEG plus KML or KMZ | Project management map view |
Setting Up Weekly Drone Construction Progress Monitoring
Weekly monitoring turns drone data into an ongoing management tool, but only if the program is governed, validated, and measured. Most teams set up the flight cadence and stop there. The operational gap is everything around the flight: who owns the data, how accuracy is confirmed week over week, how long files are kept, and which numbers prove the program's cost.
Run a repeatable weekly cycle with defined handoffs
Consistency matters more than perfection. Fly the site on the same day each week, at the same time, from the same launch points, with the same camera settings. Then run a fixed cycle:
- Pilot flies the site on the scheduled day and uploads raw images to the processing queue by end of day.
- Processing lead generates the orthomosaic, point cloud, and surface overnight and posts them to the project folder by the next morning.
- Survey or QC reviewer checks the outputs against control points and signs off on accuracy before release.
- Project controls compares the new surface and model against the previous week and the design, then flags deviations.
- Superintendent and project manager receive a one-page progress summary with flagged areas and quantities.
Name each role in the project plan. When a role is unfilled, the cycle stalls and the data arrives too late to influence decisions.
Govern access, ownership, and retention
Drone imagery captures more than progress; it captures people, equipment, and site conditions that may become part of a claim or dispute. Treat it as controlled project records.
- Ownership: Confirm in the service agreement who owns the raw images, processed outputs, and derived models, and who may reuse them on other projects.
- Access: Use folder-level permissions. Give view-only access to owners and lenders, edit rights to the processing lead and QC reviewer, and log every download.
- Sensitive imagery: Review captures for anything that should not be broadly shared, such as security details or personnel, before publishing to stakeholder portals.
Watch out: deleting raw images after processing breaks the audit trail and makes it impossible to reprocess if a coordinate or accuracy issue is later discovered.
Validate accuracy every week, not just at setup
A weekly program drifts: camera settings change, GCPs get disturbed, processing defaults shift. Validate each cycle against independent control points you did not use as GCPs, and log the horizontal and vertical error. If error exceeds the task tolerance, hold the deliverable and reprocess. Set different tolerances for earthwork quantities, layout verification, and visual progress updates, and define them in writing.
Track KPIs that show whether the program pays off
General benefit claims do not survive a budget review. Track a small set of measurable indicators and review them monthly:
- Time saved per survey: compare the hours a traditional survey or manual progress walk would take against the drone cycle time, including processing and review.
- Coverage: percentage of the site captured per flight and percentage of scheduled flights actually flown.
- Rework avoided: count deviations caught by model comparison before they were buried by subsequent work.
These numbers let you defend the program, adjust flight frequency, and show owners and lenders measurable return rather than a general claim of efficiency.
For property owners and managers with similar needs, see our guide on how often construction progress should be photographed. Teams new to this approach can also review how to document building progress effectively with a drone.
Frequently Asked Questions
How do construction companies use drone data?
Construction teams use drone data mainly for progress monitoring, earthwork and stockpile volume measurement, site mapping before design, and as-built verification. Each use needs a different capture frequency and output. Progress checks usually run weekly with orthomosaics and point clouds, while earthwork volumes may need a flight before and after each phase. Matching the output to the decision it supports keeps the data useful instead of becoming a folder of unused images.
How do you integrate drone mapping into a construction workflow?
Start by naming the project team member who owns each handoff: the pilot who captures, the processor who builds outputs, and the project manager who reviews them. Define the deliverables in advance, including file formats, coordinate system, and accuracy target. Then connect outputs to the software where decisions get made, such as a BIM model, CAD drawing set, or project management platform. A written workflow with these roles prevents data from sitting unused after each flight.
How often should drones capture construction progress?
Many projects capture progress every one to two weeks, which matches typical schedule review cycles. Capture more often during fast-moving phases such as foundations or structural framing, and less often during long interior phases. Keep the flight conditions consistent between captures, including altitude, overlap, and time of day, so that comparisons between weeks remain reliable.
What software is used to manage drone data for construction?
Processing software generates orthomosaics, point clouds, and 3D models from raw images. Common destinations include BIM and CAD platforms for design comparison and project management tools for progress reporting. The right choice depends on your existing software stack and the file formats your design team uses. Confirm compatibility with your design files before purchasing or committing to a platform.