 how-to
Thermal Imaging for Drone Roof Inspections: A How-To Guide
Table of Contents
- How Thermal Imaging Works for Drone Roof Inspections
- FAA Part 107 Requirements for Commercial Drone Operations
- Essential Equipment and Setup for Thermal Roof Surveys
- Thermal Imaging Roof Moisture Detection Techniques
- Drone Roof Inspection Report Software and Integration
- Step-by-Step Process for Conducting Thermal Roof Inspections
- Common Mistakes to Avoid
- Frequently Asked Questions
Last Updated: September 30, 2026
How Thermal Imaging Works for Drone Roof Inspections
Thermal imaging drone roof inspections capture heat signatures from building surfaces to identify problems invisible to the human eye. A thermal camera mounted on your drone detects infrared radiation emitted by materials and converts it into a visual map showing temperature variations across the roof.
Here's what makes this work: different materials absorb and emit heat at different rates. Wet insulation, for example, stays cooler than dry insulation because water conducts heat away. A thermal image highlights this temperature difference, revealing moisture that would otherwise hide under shingles or membranes for months.
The process relies on emissivity, how readily a material radiates heat. Most roofing materials have predictable emissivity values, so the thermal camera can accurately measure surface temperature. When you see a cooler patch on a thermal image, it often signals water intrusion, poor insulation, or thermal bridging where heat escapes through structural gaps.
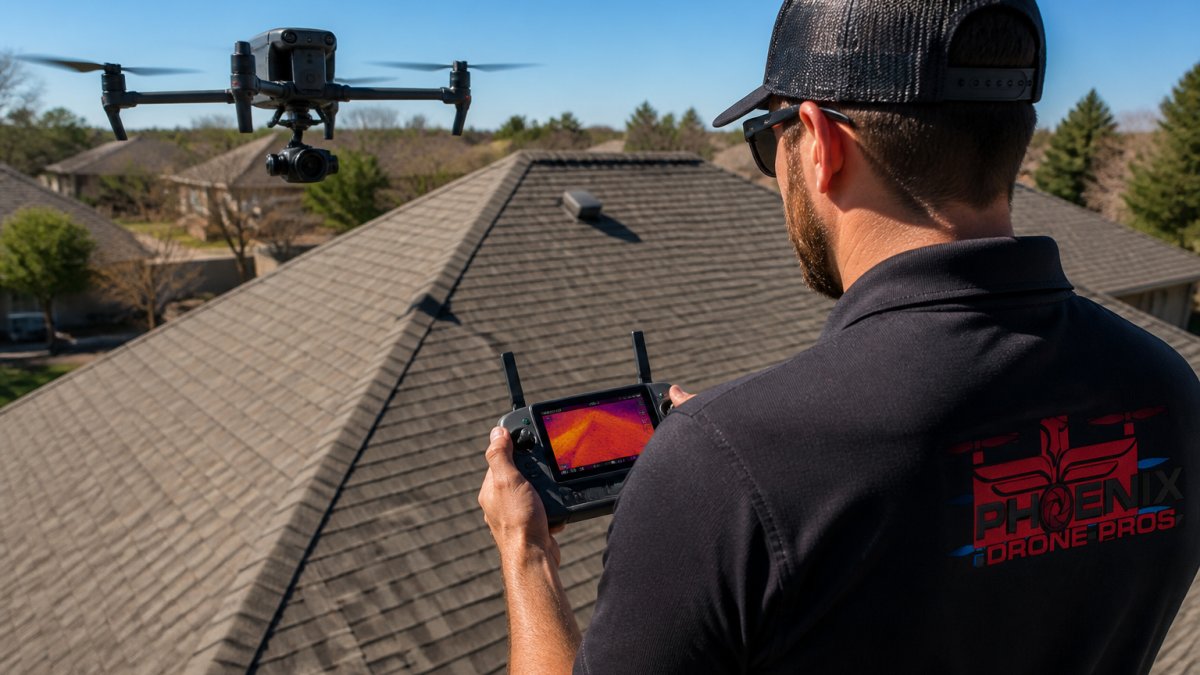
The thermal image itself appears as a false-color map, typically with cooler areas in blue or purple and warmer areas in red or yellow. You're not looking at a photograph, you're looking at a heat map that reveals what's actually happening beneath the surface.
FAA Part 107 Requirements for Commercial Drone Operations
Operating a drone for commercial roof inspections requires FAA Part 107 certification. This regulation applies to any drone operation conducted for compensation, whether you're inspecting your own property or someone else's.
Key Part 107 rules that affect thermal imaging inspections:
- Remote Pilot Certificate required: The person controlling the drone must hold a valid Part 107 certificate. This involves passing the FAA knowledge test and demonstrating flight competency. Done flight training programs prepare operators for this certification.
- Visual line of sight: You must maintain visual contact with your drone at all times during flight. For roof inspections, this typically means positioning yourself where you can see the aircraft without binoculars or camera feeds as your primary reference.
- Altitude limits: Drones cannot exceed 400 feet above ground level unless operating within a 400-foot radius of a structure (in which case you can fly up to 400 feet above that structure).
- Daylight operation: Flights must occur during civil twilight or daylight hours, though this is less restrictive than it sounds for roof work.
- No flying over people: You cannot fly your drone over people not directly involved in the operation, which affects where you can conduct inspections on multi-tenant properties.
Many operators also carry liability insurance covering drone operations. While not legally required by the FAA, property owners typically require proof of insurance before allowing flights over their buildings. Many operators also carry liability insurance covering drone operations. While not legally required by the FAA, property owners typically require proof of insurance before allowing flights over their buildings.
The FAA also requires drone registration if your aircraft weighs more than 0.55 pounds. Most thermal imaging drones exceed this weight, so registration is mandatory.
Essential Equipment and Setup for Thermal Roof Surveys
Conducting thermal imaging roof inspections requires specific equipment beyond a standard camera drone. The thermal camera itself is the critical component, but supporting gear determines data quality.
Core equipment for thermal roof surveys:
- Radiometric thermal camera: This must capture actual temperature data, not just visual thermal images. The camera records temperature readings for every pixel, enabling post-flight analysis and precise measurements.
- Drone with sufficient payload capacity: Thermal cameras add 300-600 grams to your aircraft. Your drone must be rated to carry this weight while maintaining stable flight.
- Calibration reference: A blackbody reference or calibration panel ensures your thermal readings stay accurate. Temperature shifts during flight can introduce errors if not corrected.
- High-capacity batteries: Thermal imaging flights consume more power than standard photography. Plan for 15-20 minute flight times rather than the 25-30 minutes typical drones advertise.
- Storage and backup: Thermal data files are large. Bring multiple SD cards and backup power for downloading and organizing files on-site.
Setup considerations:
Weather conditions heavily influence thermal data quality. Avoid flights immediately after rain or during extreme temperature swings. The best thermal surveys happen on clear days when the roof has stabilized at a consistent temperature, typically in late afternoon after several hours of sun exposure.
Wind also matters. Thermal cameras are sensitive instruments, and vibration from wind gusts introduces noise into your data. Aim for wind speeds under 12 miles per hour for detailed surveys.
Sensor calibration before each flight ensures accuracy. Most thermal cameras require 10-15 minutes to warm up and stabilize before you capture usable data. Skipping this step introduces temperature errors that compound across your entire dataset.
Thermal Imaging Roof Moisture Detection Techniques
Detecting moisture using thermal imaging relies on understanding how water changes thermal properties. Subsurface moisture appears cooler than surrounding dry materials because water conducts heat more efficiently than air-filled insulation.
The basic detection method is straightforward: compare thermal images taken at different times of day.
Key techniques for moisture detection:
- Temporal comparison: Capture thermal images in early morning and again in late afternoon. Wet insulation shows persistent cool spots even after afternoon sun exposure.
- Differential analysis: Compare the temperature of suspect areas to nearby dry sections. A 5-10 degree difference often indicates moisture.
- Membrane scanning: For flat roofs with single-ply membranes, scan the entire surface systematically. Delaminated sections, where the membrane separates from the insulation below, trap moisture and show as cool zones.
- Edge detection: Water often enters at roof penetrations, seams, and edges. Focus thermal imaging on these vulnerable areas first.
Drone Roof Inspection Report Software and Integration
Converting raw thermal data into actionable reports requires specialized software. Generic photo editing tools cannot process radiometric thermal data, you need platforms designed for thermal analysis and facility management integration.
Core functionality in inspection software:
- Radiometric data processing: Software must read temperature values from every pixel, not just display a color image. This enables precise measurements and analysis.
- Annotation and markup: Add notes, measurements, and severity ratings directly to thermal images. Flag problem areas for follow-up.
- Report generation: Automated templates convert thermal images, annotations, and findings into professional PDF reports. Most software generates these in minutes.
- CMMS integration: Facility management software tracks maintenance schedules and asset condition. Integration allows thermal inspection data to populate maintenance records automatically, triggering work orders for priority repairs.
Step-by-Step Process for Conducting Thermal Roof Inspections
A successful thermal imaging drone roof inspections process follows a structured workflow from planning through final report delivery. Each phase requires specific decisions and quality checks.
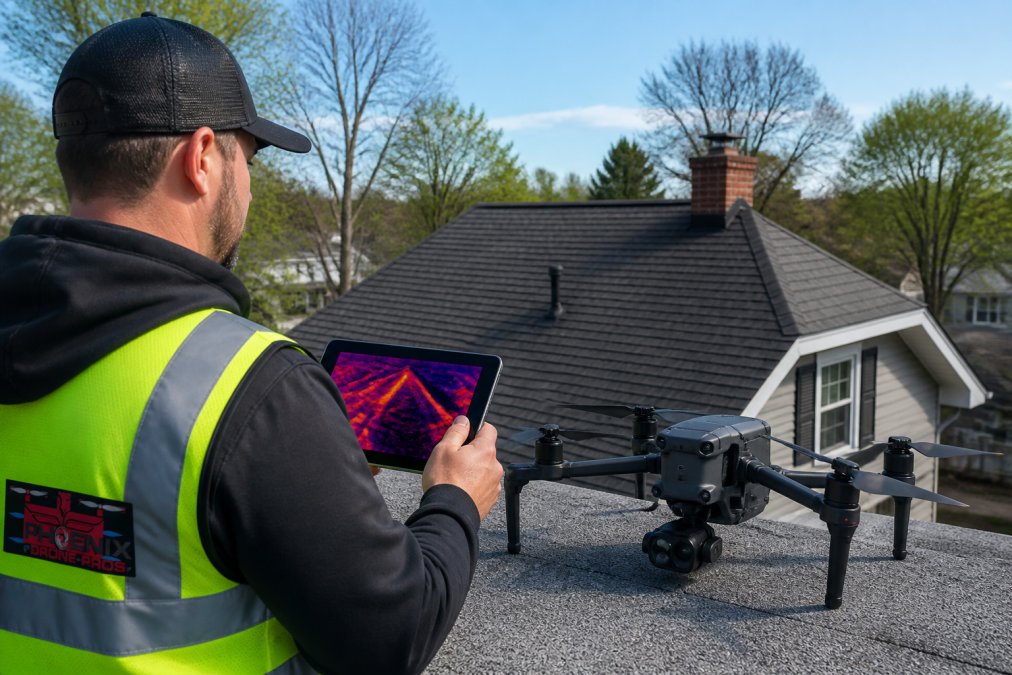
Pre-Flight Planning and Site Assessment
Start by gathering information about the property. Understand the roof type, age, previous repairs, and any known problem areas. This context shapes where you focus your thermal imaging and helps you interpret the data correctly.
Pre-flight planning checklist:
- Check weather conditions. Avoid flights during rain, immediately after precipitation, or during temperature extremes.
- Verify wind speed. Aim for winds under 12 mph to minimize camera vibration.
- Assess access and safety. Identify where you'll position yourself to maintain visual line of sight.
- Plan your flight path. Map the roof systematically so you capture every section without gaps.
- Confirm permissions. Ensure property owners understand the flight and have signed any required waivers.
- Calibrate your thermal camera. Allow 15 minutes for the sensor to stabilize before takeoff.
- Check battery charge and storage capacity. Confirm you have sufficient power and SD card space.
Flight Execution and Data Capture
Execute your pre-planned flight path systematically. Maintain consistent altitude and speed so thermal data remains comparable across the entire roof. Flying too fast causes motion blur; flying too slowly wastes battery.
During-flight priorities:
- Monitor your aircraft position and battery level continuously.
- Maintain visual line of sight at all times.
- Follow your planned flight path to ensure complete coverage.
- Capture overlapping images. This allows software to stitch images together and create orthomosaic views, aligned, georeferenced maps of the entire roof.
- Note any visual observations. If you spot visible damage, water stains, or deterioration, record the location.
Post-Flight Data Processing and Analysis
After landing, download your thermal data immediately. Thermal images require careful processing before they reveal meaningful information.
Post-flight workflow:
- Transfer thermal images to your analysis software.
- Verify calibration. Check that temperature readings remain consistent across the dataset.
- Create orthomosaic alignment. Stitch overlapping images into a single georeferenced map.
- Analyze thermal patterns. Identify cooler zones indicating moisture, thermal bridging, or insulation gaps.
- Cross-reference with visual data. Compare thermal findings to photographs and on-site observations.
- Generate annotations. Mark problem areas, measure affected zones, and assign severity ratings.
- Create the final report. Use software templates to compile thermal images, annotations, and recommendations.
Common Mistakes to Avoid
Thermal imaging roof inspections fail most often due to operator error rather than equipment limitations. Understanding common pitfalls helps you capture usable data.
Frequently Asked Questions
Do I need an FAA Part 107 license to fly a drone for commercial roof inspections?
Yes. If you're conducting thermal imaging drone roof inspections for commercial purposes, whether for property owners, real estate agents, or facility managers, you must hold an FAA Part 107 certification. This applies even if you're inspecting your own commercial property. The certification requires passing a written exam and demonstrates your knowledge of airspace rules, safety protocols, and operational limitations. Without it, you cannot legally operate commercially.
What are the primary benefits of using thermal imaging for roof moisture detection?
Thermal imaging detects subsurface moisture and water ingress that visible light cannot reveal. Wet insulation and structural components retain heat differently than dry materials, creating thermal differentials that appear as distinct heat signatures on thermal data. This allows inspectors to identify delaminated membranes, compromised insulation, and leak sources without physically disturbing the roof. The non-destructive testing approach prevents additional damage and catches problems before they become costly structural failures.
Can any drone be retrofitted with a thermal camera for roof inspections?
Not all drones can carry thermal payloads effectively. Your drone must have adequate weight capacity, stable flight characteristics, and sufficient battery life to carry a quality thermal sensor and still maintain safe operational margins. Consumer drones often lack the payload capacity or thermal sensor quality needed for professional inspections. Professional-grade platforms designed for thermal imaging provide better radiometric data accuracy, longer flight times, and more reliable integration with inspection software.
How does thermal imaging data integrate with property maintenance software?
Modern drone roof inspection report software accepts thermal data, allowing facility managers to track maintenance schedules and building envelope assessments in one system. The software processes orthomosaic imagery and radiometric data to generate automated reports with thermal contrast mapping and false color visualizations. This streamlines preventative maintenance workflows and helps prioritize repairs based on severity and location.