 how-to
Using Drones for Property Maintenance: Step-by-Step Guide
Table of Contents
- What You Need Before Flying for Property Maintenance
- Step 1: Define Your Property Maintenance Objectives
- Step 2: Conduct Pre-Flight Checks and Site Assessment
- Step 3: Capture High-Resolution Imagery and Thermal Data
- Step 4: Process Data and Generate Actionable Reports
- Step 5: Schedule Repairs and Track Asset Health Over Time
- DIY vs. Hiring a Licensed Drone Service Provider
- Common Mistakes to Avoid in Drone Property Inspections
- Frequently Asked Questions
Last Updated: September 6, 2026
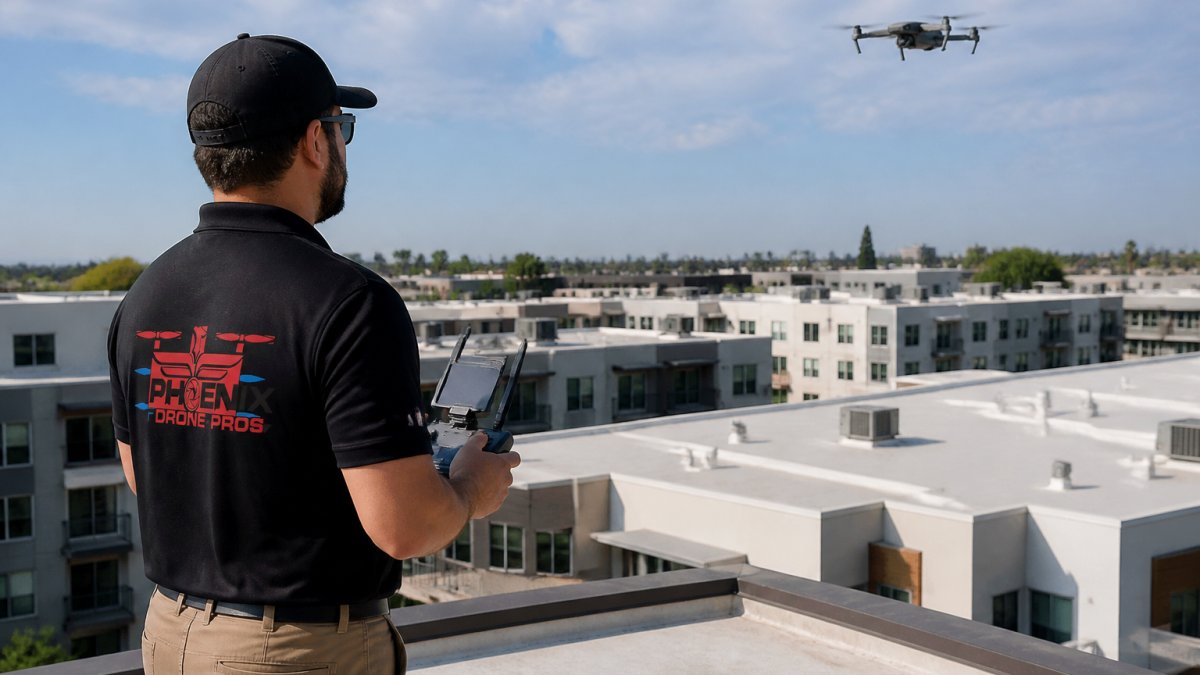
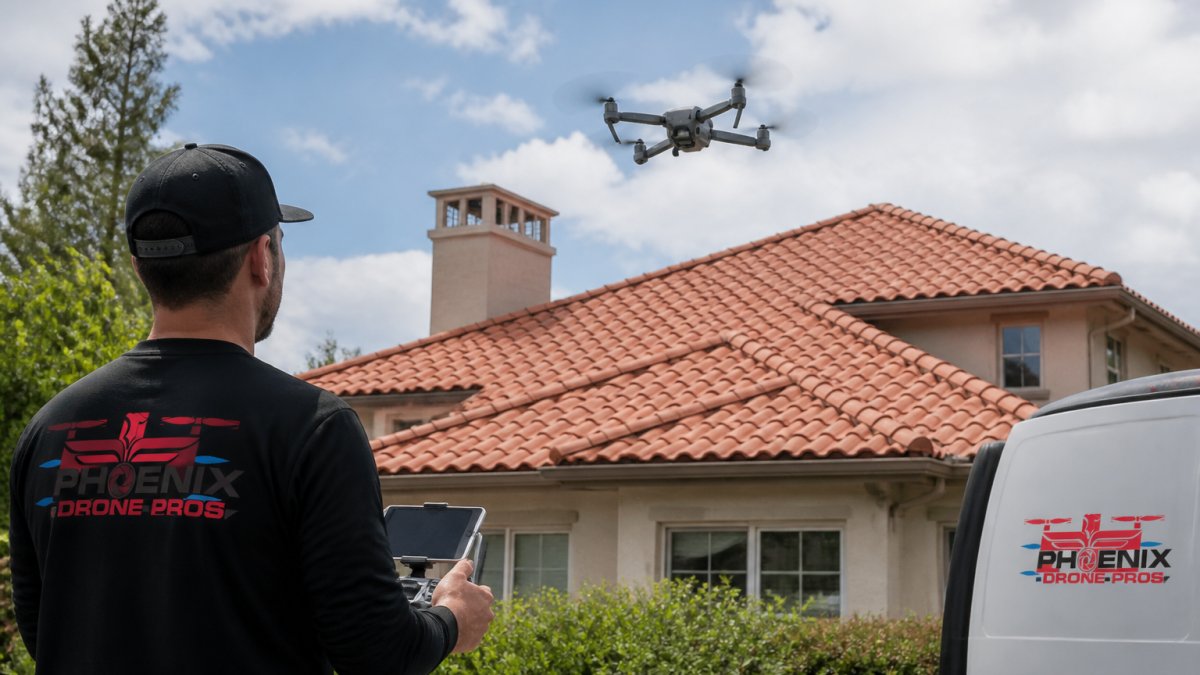
Using drones for property maintenance has shifted from a novelty to a standard practice for facility managers, property owners, and commercial real estate teams. A drone can capture the condition of a roof, facade, or drainage system in under an hour, work that once required scaffolding, ladders, and multiple site visits. This guide from Phoenix Drone Pros walks through the full workflow, from FAA compliance to scheduling repairs, so you can turn aerial data into a maintenance plan that actually protects your asset.
The core advantage is simple: drones deliver a detailed, accurate view of your property without putting anyone at risk. Thermal imaging adds another layer, revealing moisture intrusion and insulation gaps that are invisible to the naked eye. Below, we break down the process into five repeatable steps, then address the build-versus-buy decision and the mistakes that undermine most inspection programs.
What You Need Before Flying for Property Maintenance
Commercial drone operations in the United States fall under Federal Aviation Administration rules, and compliance is non-negotiable. If you plan to fly the aircraft yourself, you need a Remote Pilot Certificate under FAA Part 107 regulations, which requires passing a knowledge test and renewing every two years. The aircraft must be registered, marked, and inspected per FAA guidelines.
FAA Part 107 requirements for commercial drone pilots
Part 107 covers more than the pilot's license. Your drone must weigh under 55 pounds, stay within visual line of sight, and fly at or below 400 feet above ground level (ecfr.gov). You also need airspace authorization before operating in controlled airspace near airports, which you can request through the FAA's LAANC system. Operating outside these rules can result in fines and grounded flights, so verify your credentials before the first mission.
Insurance and liability: the part most property managers overlook
Beyond the pilot's license, a property manager's due diligence extends to verifying the drone operator's insurance coverage. A standard commercial general liability policy often excludes drone operations, so a professional service should carry a dedicated aviation or unmanned aircraft liability policy. Ask for a certificate of insurance naming your property or management company as an additional insured. This protects you if the drone damages a neighboring structure, injures a bystander, or causes property damage during the flight.
A common pattern is for property managers to assume the drone company's insurance covers everything. That is rarely true. The operator's policy typically covers their own liability, but if a claim arises from a data error or a missed defect that leads to a repair dispute, you may need your own errors and omissions coverage. For in-house drone programs, your commercial property policy may not cover flight operations, so check with your broker about adding a drone endorsement.
Data privacy and site access considerations
Flying over your own property is straightforward, but if the flight path crosses adjacent lots, public rights-of-way, or common areas in a multi-tenant building, you need to confirm you have the legal right to capture imagery there. Some states have specific statutes about aerial surveillance and photography. While FAA regulates the airspace, local trespass and privacy laws still apply to the data you collect. A best practice is to include a drone inspection clause in your vendor agreement that warrants the operator has obtained all necessary permissions and will indemnify you against privacy claims.
Step 1: Define Your Property Maintenance Objectives
Start with a specific question. Are you checking roof integrity after a storm, auditing gutter blockages, or documenting the building envelope for a renovation plan? The objective determines the sensor, the flight path, and the data you collect.
For routine preventative maintenance, a visual inspection with high-resolution imagery often suffices. For suspected moisture issues, you need a thermal camera. Write down the asset list, the known problem areas, and the deliverable format before you book a flight. This scope prevents wasted flights and gives your team a clear baseline for future comparisons.
Step 2: Conduct Pre-Flight Checks and Site Assessment
A safe flight starts on the ground. Review the property boundaries, note hazardous zones like power lines and trees, and confirm there are no building occupants in the immediate flight area. Check the weather, particularly wind speed and precipitation, since consumer-grade drones handle only light conditions.
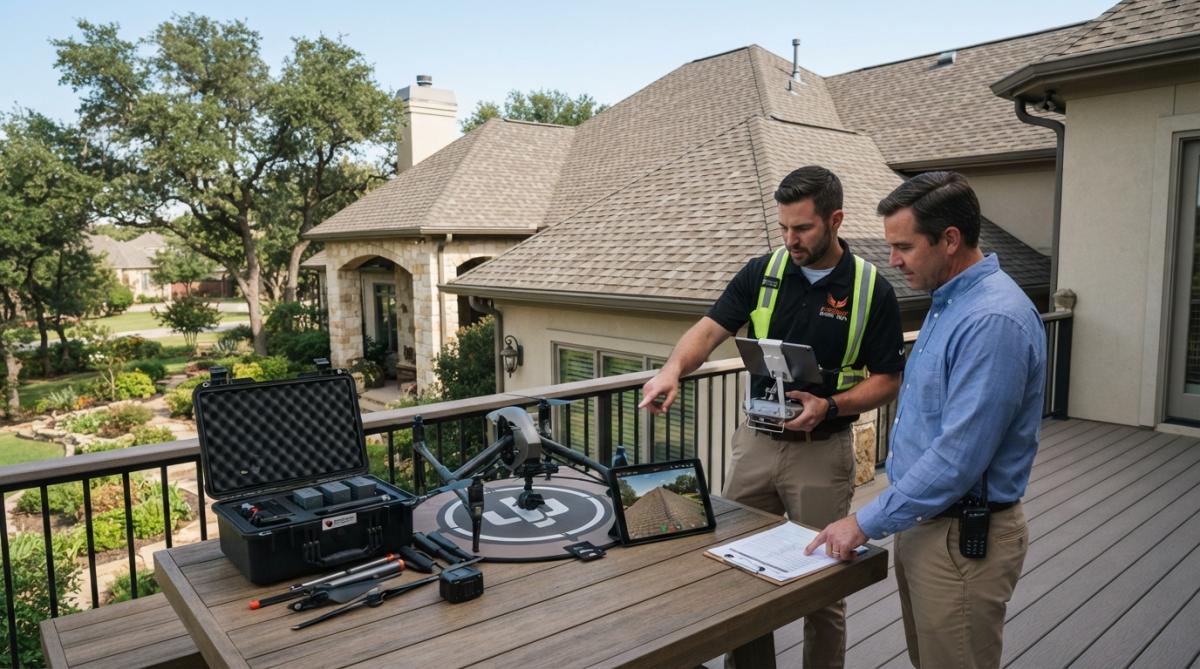
Your pre-flight checklist should cover the aircraft battery, propeller condition, gimbal calibration, and SD card storage. Confirm the geofencing settings match the site, and brief any on-site personnel about the flight window. This preparation reduces the risk of a crash and ensures the data you collect is usable.
Your drone roof inspection checklist
| Checklist Item | Purpose | Frequency |
|---|---|---|
| FAA Part 107 certificate and aircraft registration | Legal compliance | Every flight |
| Site survey for obstacles and property boundaries | Risk mitigation | Before each site visit |
| Battery, propeller, and gimbal check | Flight safety | Pre-flight |
| Weather and wind speed verification | Data quality and safety | Day of flight |
| SD card storage and camera settings | Data capture | Pre-flight |
| Geofencing and airspace authorization | Regulatory compliance | Per location |
Step 3: Capture High-Resolution Imagery and Thermal Data
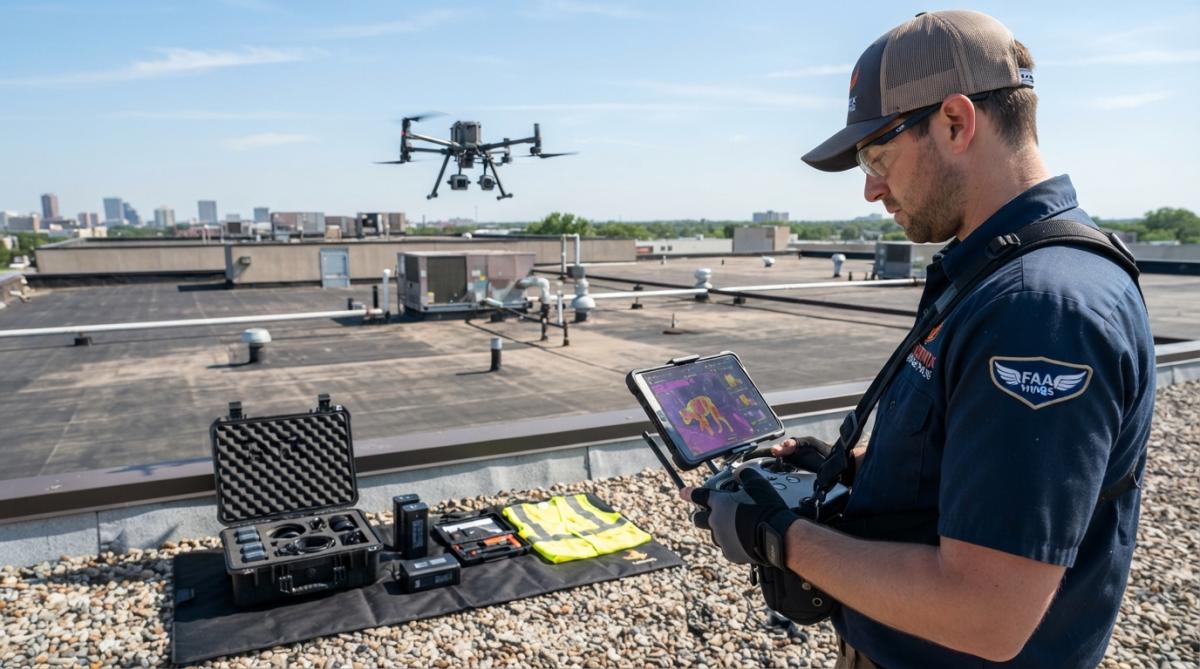
Fly a systematic grid pattern over the roof and facades, maintaining consistent altitude and overlap between images. This approach gives you the coverage needed for a reliable structural assessment, and it produces imagery you can stitch into an orthomosaic for accurate measurements. Overlap of 70 to 80 percent is a common target for roof surveys (asprs.org).
Thermal roof inspection benefits for maintenance planning
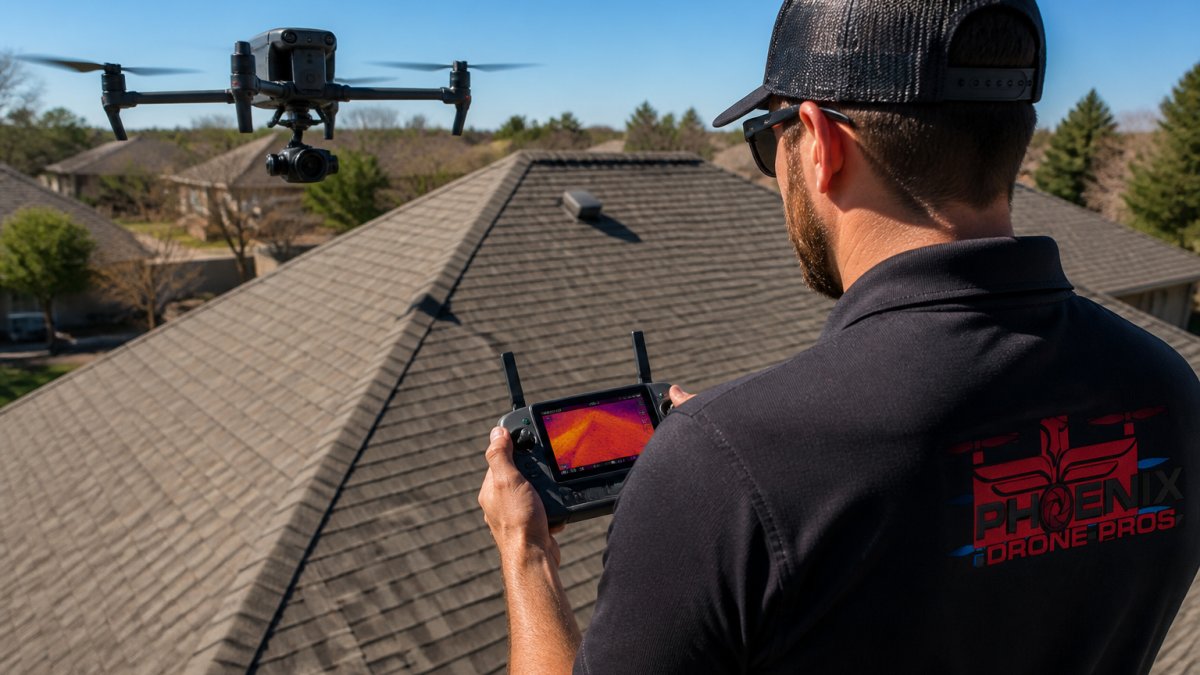
Thermal roof inspection benefits go beyond finding visible damage. Infrared thermography detects trapped moisture in insulation, which accelerates roof degradation and drives up heating and cooling costs. It also identifies failing seams and delamination before they become leaks.
A thermal survey gives you a prioritized repair list based on temperature differentials, not guesswork. This data supports data-driven decision making for capital planning, letting you allocate budget to the most urgent issues first. The result is a maintenance schedule that extends roof life and avoids emergency callouts.
Step 4: Process Data and Generate Actionable Reports
Raw footage is not a deliverable. The value comes from processing the imagery into a format your maintenance team can act on. For single roofs, that means annotating still images with location tags and descriptions of the defect. For larger sites, you may create an orthomosaic or 3D model that shows the full building envelope in context. professional roof inspection.
Software tools generate automated reporting that flags temperature anomalies and visible damage, saving hours of manual review. Export the findings as a PDF with embedded images and GPS coordinates, and share it with your contractor for accurate scoping. This documentation also serves as visual documentation for insurance claims and compliance auditing.
Integrating drone data into your CMMS or property management software
The real efficiency gain comes when drone inspection data flows directly into the systems your team already uses. Most Computerized Maintenance Management Systems (CMMS) like Fiix, UpKeep, or MaintainX accept CSV imports or have open APIs that allow you to push work orders automatically.
A practical workflow looks like this:
- Export the inspection report from your drone software (e.g., DroneDeploy, Pix4D, or Skycatch) as a CSV or JSON file that includes asset ID, defect type, severity rating, and GPS coordinates.
- Map the data fields to your CMMS's asset hierarchy. For example, the drone report's "roof section A" becomes a work order under your "Building 1 - Roof" asset record.
- Auto-generate work orders for critical findings. If the thermal data shows a moisture anomaly with a temperature differential above a set threshold, the system creates a low-priority work order for a physical inspection.
- Attach the visual evidence to the work order. Most CMMS platforms allow file attachments, so link the annotated thermal image and the GPS-tagged photo directly to the work order for the contractor.
For property management software like Yardi or AppFolio, the integration is less direct. You typically export the drone report as a PDF and attach it to the property's maintenance log. Some teams use a shared drive folder structure organized by building and date, then reference the file path in the work order notes.
Standardizing your data format for trend analysis
The key to longitudinal tracking is consistency. If every inspection uses a different file naming convention or report layout, you cannot compare data across years. Establish a standard naming protocol, such as [PropertyID]_[AssetType]_[Date]_[SensorType].pdf, and store all reports in a central repository. This allows you to overlay this year's thermal map on last year's to measure the rate of insulation degradation or the progression of a membrane seam failure.
Step 5: Schedule Repairs and Track Asset Health Over Time
The inspection is only useful if it changes your maintenance plan. Categorize each finding as critical, moderate, or cosmetic, then schedule repairs accordingly. Critical items, such as active leaks or structural cracks, need immediate contractor attention. Moderate issues can be bundled into the next maintenance cycle.
Repeat the drone survey on a regular interval, typically annually or after major storms. Comparing current data against the baseline reveals the rate of deterioration, which informs your preventative maintenance budget and asset management strategy. This longitudinal record is the difference between reacting to failures and predicting them.
DIY vs. Hiring a Licensed Drone Service Provider
Flying your own drone for property maintenance is viable if you already hold a Part 107 certificate and own suitable equipment. The trade-off is time. Between flight planning, site visits, data processing, and reporting, a single inspection can consume a full workday. For a portfolio of properties, that overhead multiplies quickly.
A licensed service provider brings specialized equipment, including thermal cameras and high-resolution sensors, plus the experience to capture usable data on the first flight. At Phoenix Drone Pros, our FAA-certified and fully insured team handles the entire workflow, from flight planning to annotated reports, for homeowners and commercial facility managers. We also have access to difficult-to-reach areas that would otherwise require scaffolding or a lift, which reduces safety risk and site disruption. For teams that prefer to build internal capability, we offer Done flight training to get your staff certified and flight-ready. And when a property is being marketed or sold, our Video Offering Memorandum captures the asset in its best light for prospective investors.
Common Mistakes to Avoid in Drone Property Inspections
The most common error is flying without a clear objective, which produces hours of footage that nobody reviews. Set the inspection question first, then match the sensor and flight path to it.
Another frequent issue is ignoring the thermal data's limitations. Thermal cameras detect surface temperature differences, but they do not diagnose the cause. A warm spot could indicate moisture, missing insulation, or a heat source like ductwork. Always confirm thermal anomalies with a physical inspection before authorizing repairs.
Finally, do not treat a single flight as a complete solution. Property maintenance is a continuous process. Regular flights, consistent data formats, and documented repair history give you the trend lines needed for predictive maintenance and long-term infrastructure health.
Scheduling and pricing for drone inspections depends on the number of buildings, the sensors required, and the deliverable format. Contact Phoenix Drone Pros for a quote tailored to your property portfolio, and get a detailed, accurate view of your asset before the next storm season.
Frequently Asked Questions
Do I need an FAA Part 107 license to fly a drone for commercial roof inspections?
Yes. Any flight tied to property maintenance work, including roof inspections for a client or as part of your business, requires a Part 107 certificate. You must pass the FAA aeronautical knowledge test and register your drone. Flying under Part 107 also requires a visual observer in some cases and adherence to airspace restrictions. Operating without certification can result in fines and invalidates your insurance coverage for property damage.
What are the main thermal roof inspection benefits for property maintenance?
Thermal cameras detect temperature differences invisible to the naked eye. This helps you find trapped moisture, failing insulation, and electrical hot spots before visible damage occurs. Identifying these issues early supports preventative maintenance and prevents costly interior water damage. Thermal data also provides objective documentation for insurance claims and budgeting, so you can prioritize roof repairs based on evidence rather than guesswork.
What should be on a drone roof inspection checklist?
Start with FAA compliance: confirm your Part 107 certificate and drone registration are current. Check weather conditions, including wind speed and precipitation. Inspect the drone's propellers, batteries, and camera sensors. Survey the site for obstacles like power lines and trees, and confirm property boundaries. During the flight, capture overlapping images of the roof surface, flashing, gutters, and penetrations. End with a data review to ensure you have clear coverage before leaving the site.
How do drones improve safety during high-rise building inspections?
Drones eliminate the need for scaffolding, ladders, and personnel working at height. This removes the primary fall risks associated with manual roof and facade surveys. Inspectors can assess hazardous zones, such as fragile skylights or steep slopes, from a safe ground position. Using drones reduces liability, lowers insurance exposure, and allows for more frequent inspections of the building envelope without disrupting building occupants.