 How-to
Editing Real Estate Drone Photos: A Pro Workflow for Better Results
Last Updated: November 6, 2026
Quick Summary
Editing drone photos for better results starts with culling your flight down to sharp, well-exposed keepers, then fixing exposure in a repeatable order: baseline exposure, recover highlights, lift shadows, set whites and blacks, and fine-tune locally. Set white balance so neutral surfaces read neutral, dehaze lightly, correct lens distortion, and straighten the horizon. Bracket three to five frames for high-contrast scenes, and export high-quality JPEGs that match the property.
- Reject soft or blurred frames and keep the sharpest frame from each bracket set.
- Pull Highlights down roughly -30 to -70 on a bright-sky frame.
- Raise Shadows by +20 to +50, stopping as soon as dark areas show texture.
- Use a three-frame bracket at -2, 0, and +2 EV for most residential exteriors.
- Editing one standard real estate drone image takes roughly 5 to 15 minutes.
Table of Contents
- Cull and Prep Before You Edit Drone Photos
- Fix Exposure, Highlights, and Shadows on Aerial Shots
- Set White Balance and Color Temperature for Accurate Color
- Remove Haze and Sharpen Clarity in Property Photos
- Correct Lens Distortion and Straighten Perspective
- HDR Drone Photography for Real Estate: When Bracketing Beats a Single Frame
- Choosing the Best App for Editing Drone Photos
- Deliver Listing-Ready Files That Match the Property
- Frequently Asked Questions
Cull and Prep Before You Edit Drone Photos
Most bad drone edits start before the shutter ever fires. A single flight can produce a hundred frames or more when you shoot brackets or orbits, according to Imagen AI's 2026 editing guide, so the first job is cutting that pile down to the shots worth your time.
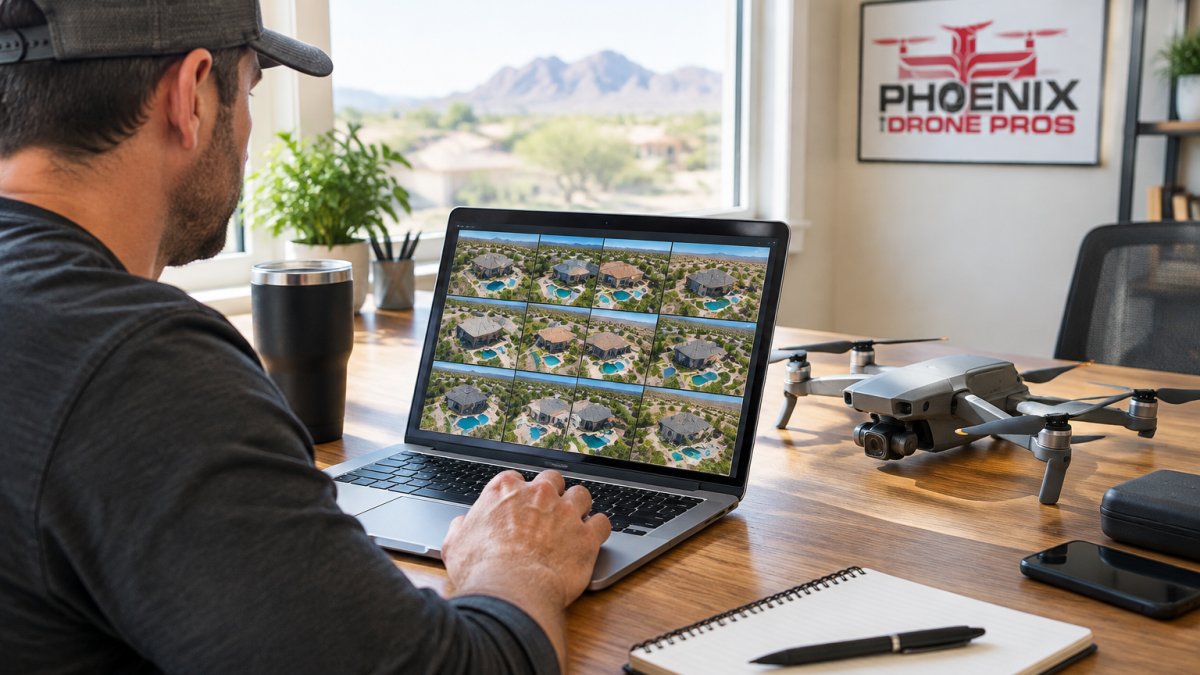
Sort the Flight Into Keepers and Rejects
Work fast and be ruthless. Flag frames that are sharp, well-exposed, and show the property clearly. Delete duplicates, motion blur, and anything with a blown-out sky you can't recover. If you want better source frames in the first place, review these tips for real estate drone photography and run a drone photography prep checklist before every shoot.
- Reject soft or blurred frames
- Keep the sharpest frame from each bracket set
- Flag shots with level horizons and clean angles
Fix Exposure, Highlights, and Shadows on Aerial Shots
Exposure is where aerial photos live or die. Drone cameras capture a wide dynamic range, but bright skies and dark roofs often fall outside it. The fix is a repeatable order of operations, not a single slider. Work the whole frame first, then go local, and check the histogram at every step.
A Repeatable Exposure Workflow With Sample Slider Ranges
The following order is a common starting point across editing software such as Lightroom, Adobe Camera Raw, and Capture One. Adjust the ranges for the scene.
- Set the baseline exposure. Use the Exposure slider to bring the midtones to a sensible level. On a typical aerial of a suburban property, that is often +0.10 to +0.40 EV when the frame is slightly underexposed to protect the sky, or -0.10 to -0.30 EV when the roof is already bright. Watch the histogram: you want the bulk of the data between the quarter and three-quarter marks, not pinned to either wall.
- Recover highlights. Pull Highlights down by roughly -30 to -70 on a bright-sky frame. On a backlit facade, -50 to -80 is common. The goal is to bring cloud texture and roof shingle detail back without flattening the sky into gray.
- Lift shadows. Raise Shadows by +20 to +50 to open lawns, driveways, and shaded facades. Stop as soon as the darkest areas show texture; pushing past +60 on a drone frame usually introduces noise in trees and pavement.
- Set whites and blacks. Nudge Whites up (+5 to +15) and Blacks down (-5 to -15) to restore contrast after the highlight and shadow moves. This is the step most editors skip, and it is why recovered frames can look flat.
- Fine-tune locally. Use a graduated filter or radial mask on the sky and a separate mask on the foreground so you are not trading sky detail for foreground noise. A sky mask with Highlights -20 and a foreground mask with Shadows +15 is a common split.
Why Drone Frames Behave Differently
A drone sensor is small, and the camera is often pointed at a scene with a bright sky occupying a third or more of the frame. That means the histogram is skewed toward the highlights before you touch a slider.
Watch out: lifting shadows too far is the most common overcorrection. Noise creeps into trees and pavement, and the image starts to look like a painting.
Check the Histogram, Not Just the Preview
The preview on a laptop screen lies in bright rooms. Use the histogram to confirm you have not clipped the sky or crushed the shadows. If the histogram shows a spike at either end, adjust Exposure first, then rebalance Highlights and Shadows.
Set White Balance and Color Temperature for Accurate Color
Accurate color starts with white balance, not saturation. Set the white balance so white trim, concrete, and neutral walls read as neutral. Aerial shots shift blue in open shade and warm at golden hour, so sample a known neutral area and adjust the temperature slider until it looks right. Then leave color grading alone. Buyers and agents need the property to look like the property, not like a filtered postcard.
Remove Haze and Sharpen Clarity in Property Photos
Atmospheric haze is the drone photographer's quiet enemy. Distance and humidity wash out contrast, especially on wide neighborhood shots. Use a dehaze tool to cut the milky veil, then add a touch of clarity to bring back texture in roofs, pavement, and landscaping. Go easy: heavy dehaze creates halos and fake-looking skies.
- Dehaze first, then adjust contrast
- Add clarity in small amounts
- Apply light sharpening only at the end
Correct Lens Distortion and Straighten Perspective
Wide drone lenses bend straight lines, and nothing kills a listing photo faster than a bowed roofline. Apply lens correction to fix barrel or pincushion distortion, then straighten the horizon so verticals and horizontals read true. A tilted horizon screams amateur. Level it, check the property edges, and confirm the frame looks natural before you move on.
HDR Drone Photography for Real Estate: When Bracketing Beats a Single Frame
HDR drone photography for real estate wins when a scene has more range than one frame can hold: bright skies over deep shadows, or a backlit facade. Shoot exposure bracketing (AEB) across three to five frames, then blend them so both sky and shadows stay usable. The difference between a clean HDR aerial and a fake-looking one is almost entirely in the capture settings and the blend method, not the tone-mapping slider.
Capture Settings That Make the Blend Work
Set the bracket in the field, not in post. A common pattern is a three-frame bracket at -2 EV, 0 EV, and +2 EV for most residential exteriors, and a five-frame bracket at -2, -1, 0, +1, and +2 EV for backlit facades or scenes with a bright sky and a deeply shaded porch.
Hold the drone still across the bracket. Wind is the enemy here: a gust between frames shifts the roofline and creates ghosting that no blend tool fully fixes. Shoot brackets on calm days or in the lull between gusts.
Blend Methods and When to Use Each
- Automated HDR merge in Lightroom or Adobe Camera Raw. Fast and good for most residential exteriors. Select the bracket, choose Merge, and enable Auto Align and Auto Tone. Deghosting is available but works best when the frames are closely aligned.
- Manual luminosity masks. More control, more time. Use it when the automated merge produces halos along rooflines or an unnatural sky.
- Exposure blending with masks. Take the 0 EV frame as the base and paint in the sky from the -2 EV frame and the shadows from the +2 EV frame. This is the most controllable method and the one most likely to survive a side-by-side comparison with the property.
Troubleshooting HDR Artifacts
Watch out: ghosting along rooflines and tree edges is the most common HDR failure. It comes from movement between frames, usually wind or a drifting drone. If Auto Align cannot fix it, fall back to the single best-exposed frame and recover it manually rather than delivering a smeared roofline. Halos around the property against the sky are usually a sign of over-aggressive tone mapping; reduce the HDR strength or switch to a manual blend.
When Bracketing Is the Wrong Tool
Bracketing is not a rescue tool. HDRsoft's drone photography guide warns against using HDR to fix careless capture. Nail the best midway exposure in the field, then bracket for the extremes. Heavy haze is a capture problem, not a dynamic-range problem: a single frame plus a dehaze pass beats a blend every time, because blending three hazy frames just gives you three hazy frames.
| Scene Type | Best Approach | Why |
|---|---|---|
| Flat, even light | Single frame | Fast, clean, no blending |
| Bright sky, dark foreground | 3-frame bracket at -2/0/+2 EV | Recovers both ends |
| Backlit facade | 5-frame bracket at -2/-1/0/+1/+2 EV | Keeps detail in walls |
| Heavy haze | Single frame + dehaze | Blending won't fix haze |
| Windy conditions | Single frame, best exposure | Ghosting risk too high |
Choosing the Best App for Editing Drone Photos
The best app for editing drone photos depends on your skill level and volume. AerialPin notes that editing one standard real estate drone image takes an experienced photographer roughly 5 to 15 minutes, according to AerialPin's 2026 guide. Multiply that across a full flight and the tool choice matters fast.
AI Tools for Real Estate Photo Editing
AI tools for real estate photo editing run a batch color pass first, then you finish the frames that need more work. That workflow suits agents shooting volume. Check every AI output against the real property before delivery. Checking each frame against the property also sharpens your eye for natural color and tonal balance, skills that carry over to a Lightroom editing tutorial.
Free Online Drone Photo Editing Options
Free online drone photo editing covers the basics: exposure, white balance, crop, and light sharpening. It works for a handful of photos. For full flights, a desktop editor with batch processing saves hours.
Deliver Listing-Ready Files That Match the Property
Export settings decide whether your edits survive the upload. Save JPEGs at high quality, size for the listing platform, and keep the aspect ratio clean. Then compare before and after: if the edit changed the property's reality, dial it back.
Want to see what finished, listing-ready aerial media looks like? Review drone real estate photography that sells, or check how edited files fit a full real estate listing media guide. If you would rather hand off the whole workflow, our team also produces a Video Offering Memorandum for commercial listings, and for pilots who want cleaner source footage in the air, Done flight training covers capture technique from the ground up.
Editing drone photos well is a discipline, not a filter. If the edit still feels like a fight, hand the capture to a team that shoots for the finish.
Frequently Asked Questions
What is the best app for editing drone photos?
There is no single answer because it depends on your volume and skill level. Photographers editing a handful of listings can use desktop software with lens correction and masking built in, while high-volume agents benefit from batch tools that apply a color pass across a whole flight. AerialPin notes a standard real estate drone image takes about 5 to 15 minutes to edit, so pick a tool that matches how many frames you process per week and whether you need perspective correction.
Should real estate drone photos be edited in HDR?
Use HDR drone photography for real estate when a scene has a wide dynamic range, such as a bright sky over a shaded roofline. Bracket three to five exposures and blend them rather than pushing one frame. HDRsoft cautions against using HDR to rescue careless capture, so find the best midway exposure on site first. For flat, evenly lit scenes, a single well-exposed frame often looks more natural than a blended one.
Can I use AI tools for real estate photo editing?
Yes, and they help most with the repetitive steps. Imagen AI describes running a full set through a batch color pass first, then finishing the frames that need extra work. That approach saves time on exposure and white balance across a hundred-frame flight. Keep a human check on anything that changes the property itself, since AI can smooth textures or shift colors in ways that misrepresent a listing.
How do you correct color and exposure in drone photos?
Start with exposure: pull back highlights in the sky and lift shadows under eaves, then set white balance using a neutral reference like concrete or pavement. After that, apply dehaze to cut atmospheric haze and correct lens distortion before straightening vertical lines. Make these global adjustments first, then use local masks for the sky and lawn. Saving sharpening and noise reduction for last keeps the edit clean and natural-looking.