 How-to
How to Run Residential Drone Roof Surveys in 2026
Last Updated: November 9, 2026
Quick Summary
Effective drone roof surveys keep the pilot on the ground and the camera in the air, flying 20 to 30 feet above the roofline with 70% to 80% image overlap. Confirm airspace, weather, Part 107 certification and neighbor consent before launch, then capture nadir passes, oblique angles and every penetration.
- Fly at least 25 minutes per battery to map a 30,000-square-foot roof in one flight.
- Skip the flight when sustained wind exceeds 15 mph, since sharpness drops and battery drain climbs.
- Use a 20MP or higher sensor with a 3-axis gimbal and obstacle sensing.
- Keep 20% battery in reserve for wind or a missed approach.
- Shoot two to three hours after sunrise or before sunset for raking light.
Table of Contents
- Why Residential Drone Roof Surveys Beat Ladder Work
- Your Pre-Flight Drone Roof Inspection Checklist
- Choosing the Best Drone for Roof Inspection Work
- Step-by-Step: Flying the Survey and Capturing Clear Images
- Drone Roof Inspection Software for Processing and Reports
- What a Drone Roof Inspection Cost Covers
- Reading the Results: Damage Types and Report Templates
- Schedule a Certified Drone Roof Survey
- Frequently Asked Questions
Why Residential Drone Roof Surveys Beat Ladder Work
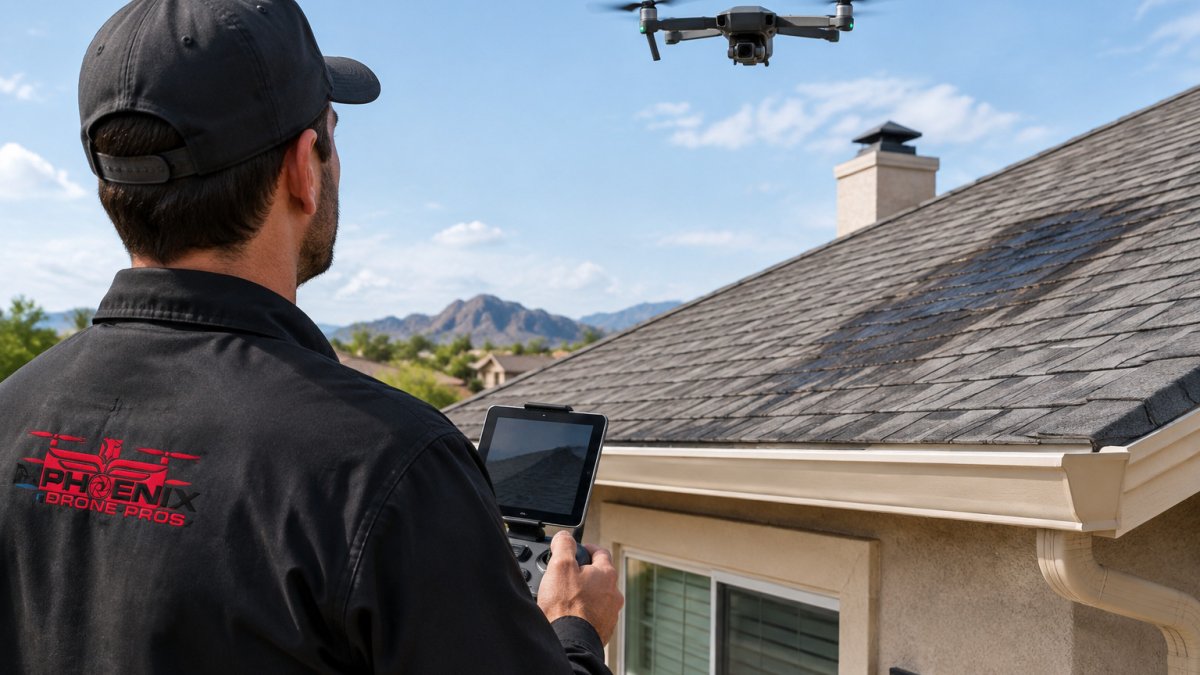
Residential drone roof surveys are aerial inspections that use a camera-equipped drone to capture high-resolution images of a roof without anyone climbing a ladder. According to UAV Coach's 2026 drone roof inspection guide, the best drones for this work fly for at least 25 minutes when fully charged, which is long enough to map a 30,000-square-foot roof in one flight.
Ladder work is slow and dangerous. A wet shingle, a loose boot, a gust of wind, and the inspection becomes an emergency room visit.
At Phoenix Drone Pros, we have over a decade of commercial drone experience, and aerial inspections let our team document roofs without anyone climbing a ladder.
The market reflects that. Fact.MR's drone roof inspection market analysis estimates demand at USD 0.3 billion in 2026, growing to USD 1.2 billion by 2036. Homeowners and contractors are choosing the safer option.
Below, we break down the full workflow: pre-flight checks, drone specs, flight technique, software, and cost.
Your Pre-Flight Drone Roof Inspection Checklist
A drone roof inspection checklist prevents the two most common failures: a grounded flight and a complaint from a neighbor.
- Confirm the drone and batteries are charged and firmware is current
- Check airspace status and any local flight restrictions
- Review wind speed, gusts, and precipitation forecasts
Airspace, Weather, and Neighbor Consent Checks
Airspace comes first. Controlled airspace near airports often requires prior authorization through the FAA's Low Altitude Authorization and Notification Capability system, and residential neighborhoods sit inside it more often than people expect.
Weather sets the real limit. Most consumer drones handle steady wind up to about 20 mph, but gusts are the problem. Above 15 mph sustained, image sharpness drops and battery drain climbs.
Neighbor consent is the angle most guides miss. A drone hovering over a property line draws attention, and some neighbors will call it in.
Choosing the Best Drone for Roof Inspection Work
The best drone for roof inspection balances camera resolution, flight stability, and battery life. You do not need the most expensive model, just one that holds position in wind and captures sharp detail at 20 to 30 feet.
Three specs decide the outcome:
- Sensor resolution: 20MP or higher for readable shingle detail
- Gimbal stabilization: a 3-axis gimbal prevents blurred images in wind
- Obstacle sensing: essential when flying close to chimneys and gable ends
Entry-Level vs. Professional Drone Specs That Matter
For a deeper spec comparison across models, read our guide to the best drones for residential roof inspections in 2026.
Step-by-Step: Flying the Survey and Capturing Clear Images
Good imagery comes from a repeatable flight path, not luck. Fly the same pattern every time and your reports stay consistent, comparable, and defensible if a client or insurer questions a finding.
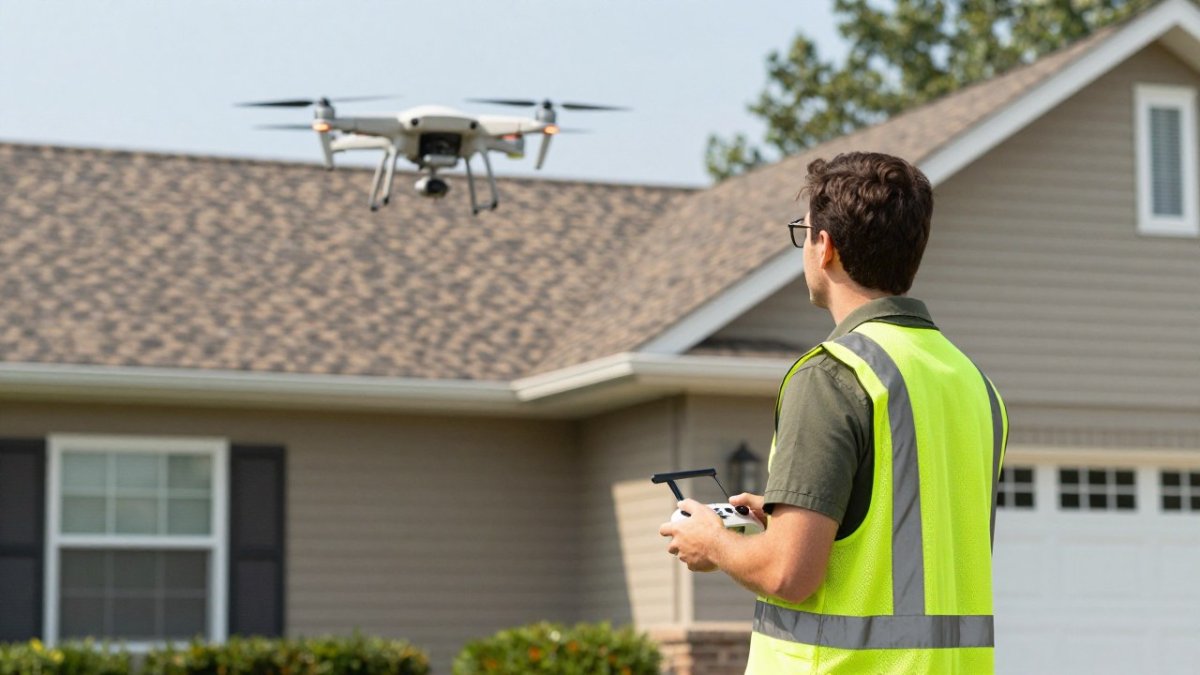
- Launch and hover at 10 feet. Confirm GPS lock, set manual exposure, and lock white balance before climbing, auto exposure shifts as the camera crosses bright sky and dark shingles, ruining consistency.
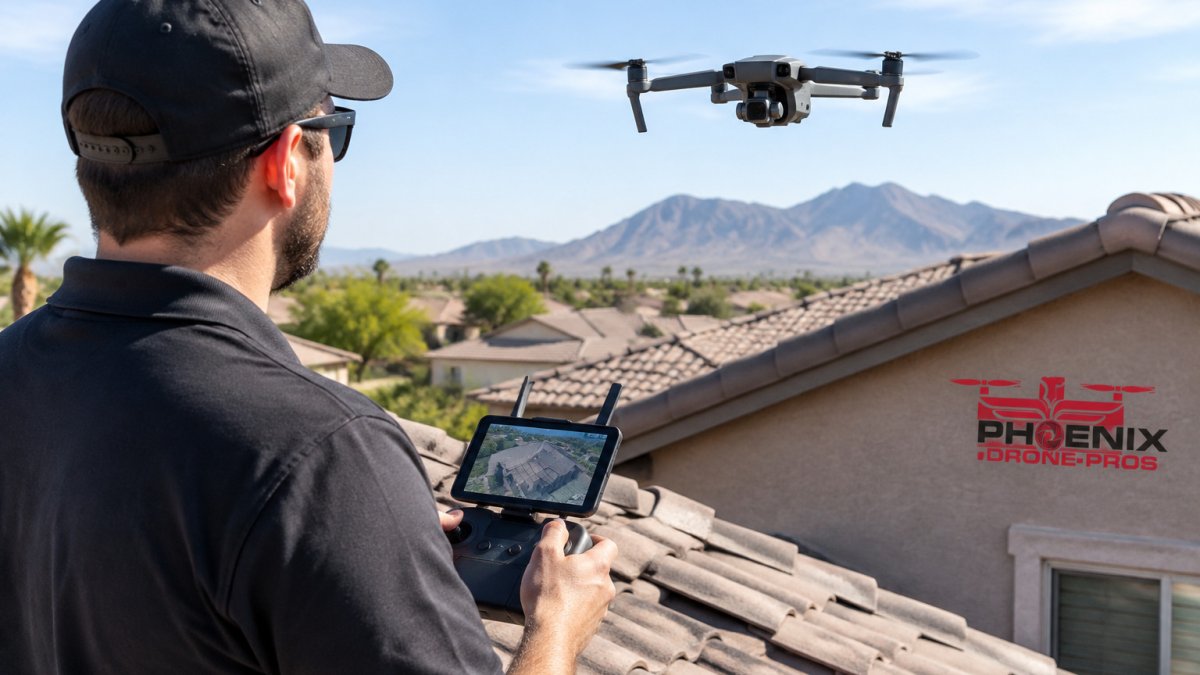
- Climb to your survey altitude. 20 to 30 feet above the roofline works for most homes. Lower altitudes capture finer detail but shrink the frame; higher altitudes speed the flight but soften granule texture.
- Capture nadir imagery first. Point the camera straight down and fly parallel passes, overlapping each pass by about 70% and each frame by 70% to 80%. That overlap is what photogrammetry software needs to stitch a measurable orthomosaic; below 60% the model develops holes at ridges and valleys.
- Switch to oblique angles. Tilt the camera 30 to 45 degrees and circle the structure to catch flashing, valleys, and chimney seals that nadir shots flatten.
- Photograph every penetration. Vents, skylights, and satellite mounts are where leaks start. Frame each with surrounding shingles so the reader can locate it.
- Record a slow video pass. Video catches defects stills miss and can convert to a 3D model later. Fly at constant speed and avoid panning.
- Land with battery to spare. Keep 20% in reserve for wind or a missed approach, battery drops faster in cold weather and at altitude, so treat 20% as a floor.
Lighting, Overlap, and Thermal Passes
Keep the sun behind the camera. Shooting into sunlight washes out shingle texture and hides granule loss. The best window is two to three hours after sunrise or before sunset, when low sun rakes across the roof and casts shadows that reveal curling tabs and lifted flashing.
A thermal pass is a separate flight, not a camera setting. Fly it in the late afternoon or early evening after the roof has absorbed heat, when moisture trapped under shingles shows as a cool anomaly against warm dry areas.
Watch out: flying visual and thermal passes back to back without letting the camera stabilize produces misaligned frames that are hard to pair in the report. Once the visual and thermal frames are aligned, keep the same timestamps and roof-area labels in the report so Rapid Refurb can help connect the evidence to the adjuster’s inspection.
A Repeatable Flight Pattern
A common pattern is a perimeter orbit at oblique angle, a back-and-forth nadir grid over the main roof planes, then a second orbit in the opposite direction to catch the far side of chimneys and dormers. Log altitude, overlap, and sun position for each job so a year-later before-and-after comparison stays meaningful.
Drone Roof Inspection Software for Processing and Reports
Drone roof inspection software turns raw footage into measurements, 3D models, and client-ready reports. The right pick depends on whether you need mapping, measurement, or a full sales workflow.
| Software | Best For | Starting Price | Key Strength |
|---|---|---|---|
| DroneDeploy | Team mapping workflows | $4,188/year | Orthomosaic and 3D models |
| SkyeBrowse | Video-first inspectors | Contact for pricing | Fast 3D from standard video |
| EagleView | Measurement reports | Contact for pricing | Automated pitch and area data |
| iRoofing | Full roofing sales | Contact for pricing | Estimating and proposals |
| GAF QuickMeasure | Contractor bids | Contact for pricing | Standardized measurements |
DroneDeploy is a widely used platform for photogrammetry, producing orthomosaics and point clouds. SkyeBrowse builds 3D models from ordinary video, which some inspectors prefer.
For a full walkthrough of damage analysis and reporting tools, see our article on drone roof inspection software for damage analysis.
What a Drone Roof Inspection Cost Covers
Pricing depends on roof size, complexity, and turnaround, so we quote per property. Contact Phoenix Drone Pros for current pricing or a quote.
What drives the number:
- Roof size and pitch. Steep, multi-plane roofs take longer to document.
- Access and obstructions. Trees, power lines, and tight lots add flight time.
- Deliverable type. A photo set costs less than a measured report with 3D modeling.
Industry guidance puts residential drone inspections in the $100 to $300 range per the Drone Pilot Ground School inspection overview, but that spread is wide because scope varies so much.
For a full cost breakdown against manual inspection, read our drone vs manual roof inspection cost guide.
Reading the Results: Damage Types and Report Templates
The images are only useful if you can read them. Most residential roof problems fall into a handful of categories, and each shows up differently in visual versus thermal imagery.
- Shingle degradation: granule loss, curling, and missing tabs. Granule loss reads as lighter, rougher patches in raking light; curling shows as shadow lines along tab edges.
- Moisture detection: dark patches in visual imagery and temperature anomalies in thermal imagery. Thermal contrast is strongest in the hours after the roof has heated and cooled.
- Flashing failures: lifted or rusted metal at chimneys, valleys, and walls. Oblique shots catch these; nadir shots usually miss them.
Thermal imaging adds a layer stills cannot, revealing heat loss and moisture trapped under shingles as temperature contrast rather than a visible stain. Pair each thermal frame with the matching visual frame so the reader sees the anomaly and the shingle condition together.
What a Professional Inspection Report Should Contain
Build one report template and reuse it. A structure that clients and insurers respond to includes:
- Property summary: address, roof type, approximate age, pitch, and the date and time of the flight.
- Flight conditions: wind speed, cloud cover, temperature, and the altitude and overlap used. This is what makes the report defensible.
- Labeled image set grouped by roof plane: north, south, east, west, plus a separate section for penetrations and flashing.
- Damage table with severity ratings: a simple low, moderate, high scale tied to each finding, with the image reference number next to it.
- Thermal appendix: paired visual and thermal frames for any moisture finding.
- Recommended next steps: repair now, monitor, or refer to a roofer for hands-on inspection.
- Limitations statement: what the survey could not see, such as under-tree canopy or areas blocked by obstructions.
Clients act on clear reports and ignore vague ones. "Possible damage on the south slope" gets filed; "three lifted tabs and one cracked vent boot on the south slope, image 14, moderate severity, recommend repair within 90 days" gets acted on.
Watch out: a drone survey is not a substitute for hands-on inspection when the images show active leaking or structural movement. Flag those for a roofer and say so in the report rather than implying the aerial survey settled the question.
Data Privacy and Neighbor Consent
Residential flights capture more than the client's roof. Adjacent yards, windows, and driveways end up in the frame, and that is where privacy complaints originate. A few practices keep the job clean:
- Frame tight. Zoom or fly closer rather than capturing wide shots that include neighboring properties.
- Crop before delivery. Remove or blur frames showing adjacent homes, pools, or people.
- Notify before you fly. A quick knock and a one-line explanation ("we're inspecting the roof next door, about 15 minutes") prevents most complaints.
The neighbor conversation takes two minutes and prevents the one complaint that turns a routine inspection into a call to the FAA or local authorities. Treat consent and cropping as part of the workflow, not an afterthought.
Schedule a Certified Drone Roof Survey
The workflow is not complicated, but the margin for error is small. Airspace rules, weather windows, and image quality all punish shortcuts.
Phoenix Drone Pros handles the full process: FAA-certified pilots, full insurance, and 10+ years of commercial drone experience. If you would rather build these skills yourself, our Done flight training is available.
Get started with Phoenix Drone Pros and turn a risky climb into a documented, insurable inspection. You can schedule a certified drone roof survey when you are ready.
A roof does not announce its problems. It waits for the next storm.
Frequently Asked Questions
How do you conduct a drone roof survey?
Plan the flight with a pre-flight checklist covering airspace, weather, and neighbor consent, then fly a grid pattern capturing nadir and oblique images of every roof plane. Keep the drone within visual line of sight and use automated flight missions where possible for consistent overlap. After landing, upload the footage to processing software to build an orthomosaic and 3D model, then write the inspection report with geotagged photos of each defect.
How much does a drone roof inspection cost?
What you pay depends on roof size and pitch, how many structures are on the property, and whether you need thermal imaging or a 3D model. Ask for a written scope before booking so the quote matches the deliverable.
Do you need certification to perform drone roof inspections?
Yes, if the flight is for compensation or business use. The FAA requires a Part 107 certification for commercial drone operations, and the pilot must keep the drone within visual line of sight. Hobbyists flying for their own home face different rules. For any paid inspection, confirm the operator holds Part 107 certification and carries liability insurance before they fly over your property.
Are drone roof inspections as accurate as traditional inspections?
Drone surveys capture high-resolution imagery that reveals shingle degradation, missing tabs, and moisture clues across the whole roof, often in more detail than a ground-level view. They are not a full substitute for hands-on inspection when a defect needs physical testing. The strongest practice is a hybrid approach: use the drone survey first to map defects, then send someone up only where the imagery shows a problem worth touching.